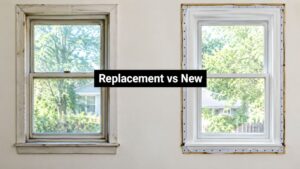

A Star window installation can range from $8,000 to $22,000 for a typical full-home replacement, with the work often completed in a day once the units are ready. A free in-home same-day estimate is the fastest way to lock down exact numbers for your specific windows, timeline, and installation method.
You're probably not replacing windows because you suddenly became interested in frame construction. You're looking at fogging between panes, feeling a cold draft near the sofa, or watching summer sun turn one room into a greenhouse. Then come the practical questions: how much damage is hidden, what will the project cost, and how long will strangers be in the house?
For a Star homeowner, the answer depends on more than window style. The local code environment, Treasure Valley weather, opening condition, glass orientation, and flashing details all affect whether the replacement performs properly. A good installation should make the home more comfortable without creating moisture problems behind the trim.
Table of Contents
- Why Star Homeowners Are Replacing Windows Right Now
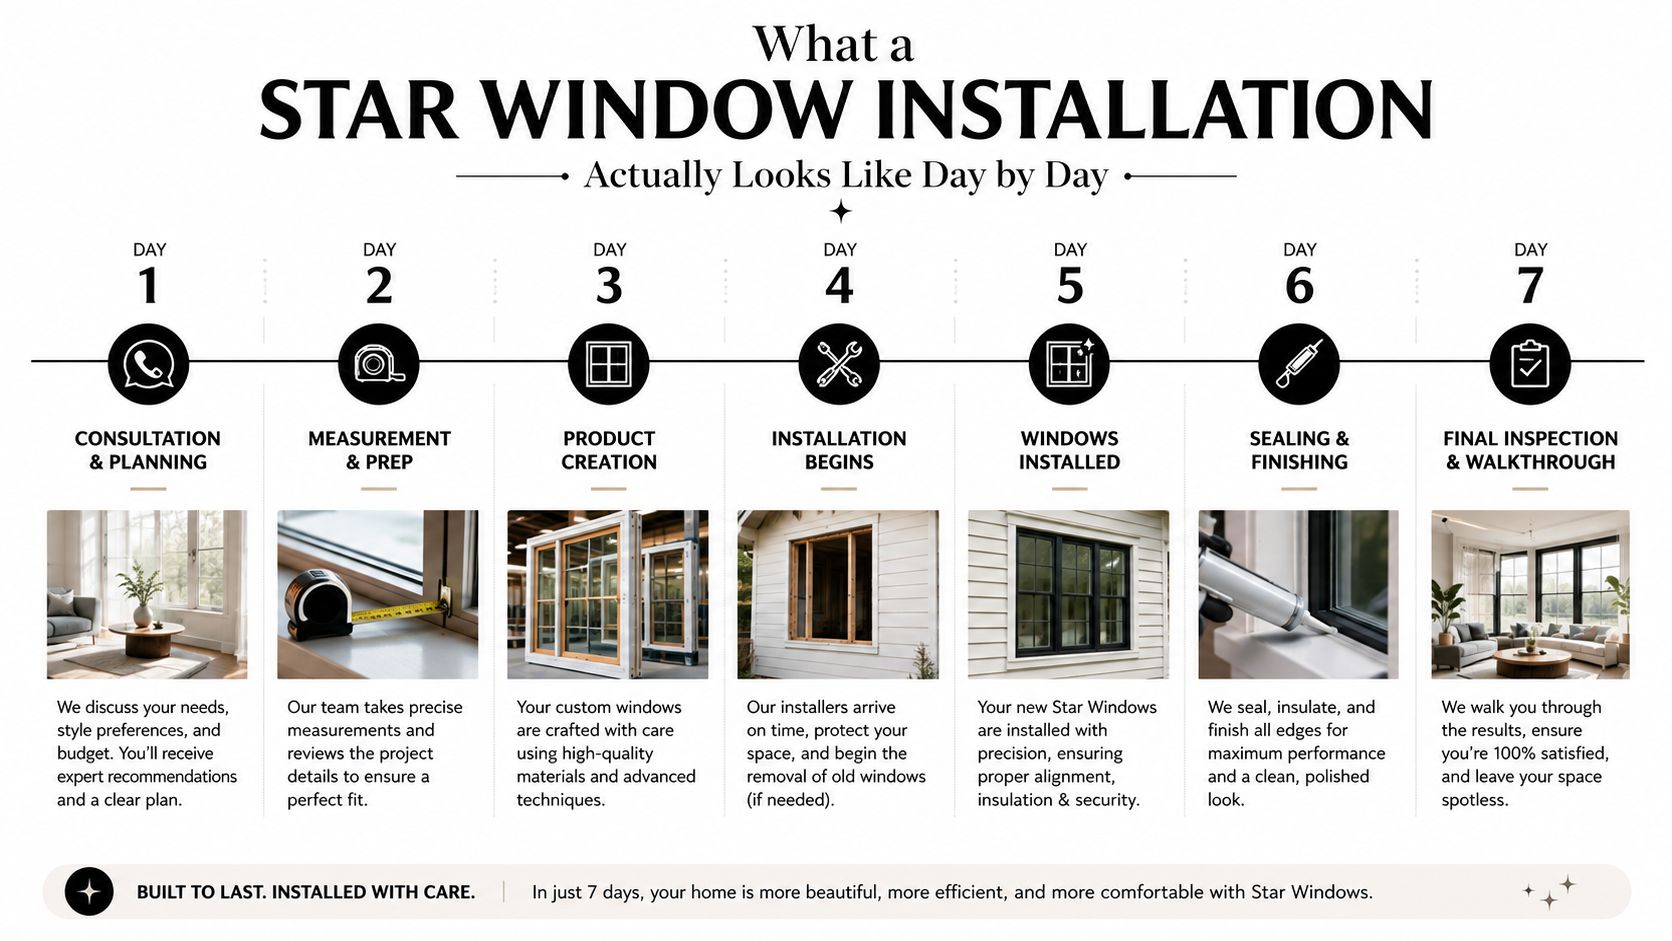
- What a Star Window Installation Actually Looks Like Day by Day
- Climate-Ready Window Performance for Treasure Valley Homes
- Low-E, Argon, and Triple-Pane Options Explained
- Window Installation Costs and Financing in Star, Idaho
- Smart Questions to Ask Your Star Window Installer
- Installation Quality Checks That Protect Your Investment
- Getting Your Same-Day Estimate and Next Steps
Why Star Homeowners Are Replacing Windows Right Now
A Star homeowner notices the problem first in small ways. The bedroom feels colder than the hallway. The front-room glass fogs between panes. A hand placed near the frame finds a draft, even though the window appears closed. Those symptoms often point to failed seals, aging weatherstripping, weak air sealing, or a window that was never a strong performer to begin with.
The next concern is disruption. Homeowners want to know whether the crew will remove every window at once, whether furniture must leave the room, and whether the dog can stay home. They also want a number that reflects their actual openings rather than an online estimate based on an imaginary house.
Star's homes face a specific climate
Star sits in the Treasure Valley, where winter cold, summer heat, and seasonal smoke all test the building envelope. Well-sealed windows help limit unwanted air movement and make it easier to keep indoor rooms comfortable when outdoor conditions change. Operable windows also give homeowners more control over ventilation, while tighter closed units help keep outdoor smoke and dust from entering through leaks.
Code has raised the technical standard. Star adopted the 2018 International Residential Code with Idaho amendments, identified locally as the Idaho Residential Code 2020 Edition, which provides the residential basis for window and envelope work through the city's adopted-code framework (Star's adopted codes and design criteria). Idaho's energy rules also connect qualifying improvements to the IECC version in effect during the tax year through state statute 63-3022B.
That matters because replacement work isn't only about making the exterior look newer. ENERGY STAR guidance for Idaho's North-Central climate zone identifies qualifying windows with a U-factor of 0.30 or lower, while the Northern zone used across much of Idaho calls for 0.27 or lower (Idaho window code guidance). You should expect an installer to discuss insulation performance, solar heat gain, frame quality, and installation technique together.
Practical rule: If the conversation focuses only on color and grille style, you haven't reached the important part of the estimate.
For a plain-language checklist of warning signs, review these signs your Idaho windows may need replacement. Then schedule a free same-day in-home estimate. Measuring your specific openings is the fastest way to replace guesswork with a usable project number.
What a Star Window Installation Actually Looks Like Day by Day
A professional project begins before the crew arrives with a truck. The installer measures each opening, checks whether the existing frame is square and sound, identifies any rot or water damage, and reviews glass options by room and elevation. That appointment should also establish whether the job is a retrofit or a full-frame replacement.
Before installation day
Permitting requirements should be addressed through the City of Star or the applicable Ada County process. The installer should tell you who handles the permit, what inspection is required, and whether HOA notification affects the schedule.
Custom-sized units commonly require a 2–4 week fabrication lead time, so don't schedule the crew around a date that hasn't been confirmed by the manufacturer. Use that waiting period to move furniture away from the openings, secure pets, and tell anyone working from home which rooms will be affected.
What happens on the workday
The crew should protect floors and nearby furniture with drop cloths before removing anything. A two-person crew may replace several openings in a day, but the actual pace depends on window size, access, trim condition, and whether hidden damage appears after removal. A careful crew works room by room instead of leaving the whole house exposed.
Opening preparation is where quality becomes visible:
- Flashing inspection: The installer checks the rough opening and existing water-management layers.
- Sill preparation: Shims and a sill pan establish support, drainage, and the correct window position.
- Air sealing: Low-expansion foam fills the perimeter gap without bowing the frame.
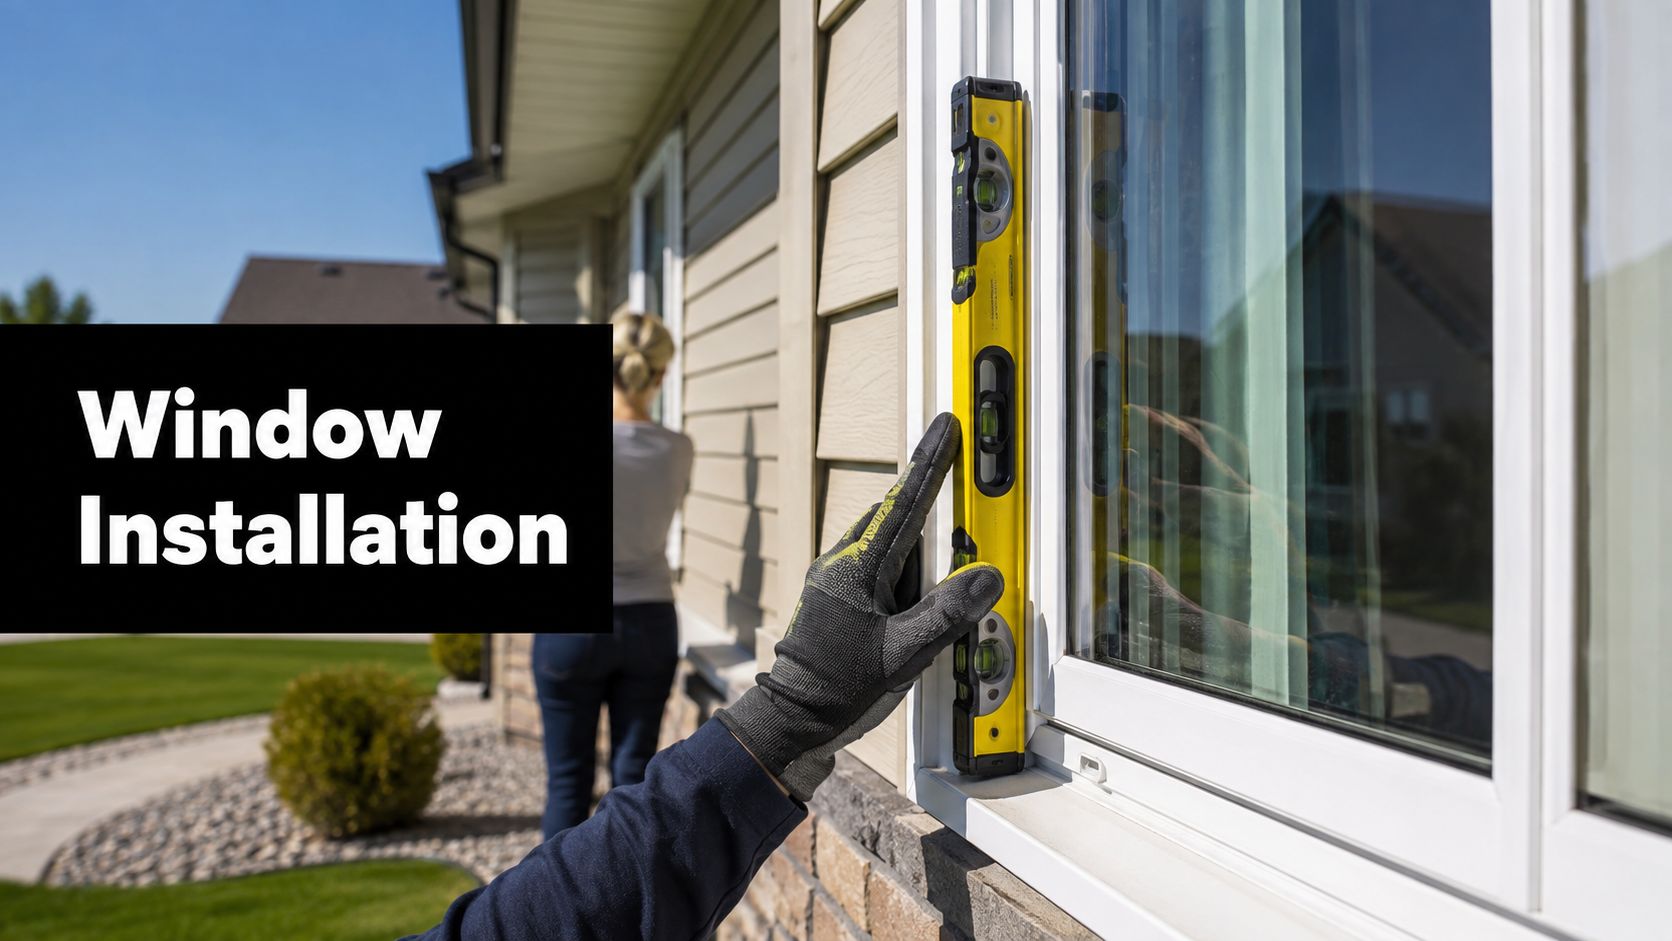
- Window setting: The unit is fastened, squared, leveled, and checked for smooth operation.
- Finish work: Interior trim is reinstalled, while exterior capping or trim is completed as specified.
The final walkthrough should include opening, closing, locking, and latching every unit. Ask the crew to demonstrate the screen fit, explain the warranty paperwork, and identify any paint or caulk that needs curing time.
A magnet sweep is a simple cleanup check for stray fasteners around floors and landscaping. Before the installer leaves, collect warranty registration details, permit information, and any energy-credit documentation. Don't assume paperwork will arrive later unless that promise appears in writing.
Climate-Ready Window Performance for Treasure Valley Homes
Star windows should be selected by whole-window performance, not frame material alone. The two numbers that matter most are U-factor and SHGC.
U-factor measures heat transfer through the window. Lower is better. A lower U-factor helps limit winter heat loss through the glazing assembly. SHGC, or solar heat gain coefficient, measures how much solar energy enters through the glass. A lower SHGC blocks more solar gain, while a higher value allows more winter sun into the room.
ENERGY STAR's Idaho guidance identifies the Boise area within the North-Central climate zone and points homeowners toward strong insulation performance. ENERGY STAR v6 lists a North-Central maximum of U-factor 0.32 and SHGC 0.40, while cold-climate guidance explains that south-facing windows can pair a low U-factor with a higher SHGC when the design benefits from winter solar gain (ENERGY STAR window program requirements).
Orientation changes the glass decision
A west-facing window often receives difficult afternoon sun. A south-facing window may benefit from winter light, depending on overhangs, shading, and room use. North-facing glass usually needs stronger insulation because it receives less useful direct solar gain.
Use the table as a starting point, not as a substitute for the NFRC label and the installer's room-by-room recommendation.
| Elevation | Recommended U-Factor | Recommended SHGC | Air Leakage (CFM/sq ft) |
|---|---|---|---|
| North | 0.27 or lower | Moderate to lower | Not greater than 0.3 |
| South | 0.27 or lower | Orientation-dependent, potentially higher | Not greater than 0.3 |
| East | 0.27 or lower | Moderate | Not greater than 0.3 |
| West | 0.27 or lower | Lower to control afternoon gain | Not greater than 0.3 |
The air-leakage benchmark comes from Idaho's residential energy code, which sets windows, skylights, and sliding glass doors at not greater than 0.3 cfm per square foot when tested by an accredited laboratory and listed by the manufacturer (Idaho residential energy-efficiency code).
Vinyl usually offers practical value and low maintenance. Fiberglass handles temperature changes well and can provide a rigid frame. Composite construction can combine structural stability with a refined appearance. The right choice depends on opening size, exposure, budget, and the manufacturer's whole-window ratings.
For a deeper Idaho-specific selection guide, compare window options for Idaho winters. My rule is simple: choose the best U-factor your budget allows, then right-size SHGC by elevation.
Low-E, Argon, and Triple-Pane Options Explained
Homeowners often compare glass packages as though more panes automatically solve every problem. They don't. A well-installed double-pane unit with appropriate Low-E and Argon can outperform a poorly installed triple-pane window with weak flashing and perimeter leakage.
Three practical glass packages
A standard double-pane unit with hard-coat Low-E is the entry point. It can improve on older clear glass, but it generally offers less flexibility than a soft-coat package. A double-pane unit with soft-coat Low-E and Argon is the practical middle choice for many Star homes. It adds a stronger insulating layer and uses the gas fill to reduce heat transfer through the cavity.
Triple-pane glass adds another pane and another insulating cavity. With dual Low-E coatings and Argon, it can make sense for large north-facing picture windows, bedrooms above unheated garages, and rooms where comfort and sound reduction matter more than the lowest initial price.
| Glass Package | Typical U-Factor | Typical SHGC | Best For | Relative Cost |
|---|---|---|---|---|
| Double-pane, hard-coat Low-E | Moderate | Moderate | Basic replacement and budget-sensitive rooms | Lower |
| Double-pane, soft-coat Low-E plus Argon | Lower than basic double-pane | Tuned by elevation | Most whole-home Star replacements | Medium |
| Triple-pane, dual Low-E plus Argon | Lowest of the three | Tuned by elevation | Large cold-facing glass and maximum comfort | Higher |
Avoid treating these qualitative tiers as a substitute for the actual NFRC label. The selected product should be evaluated as a complete assembly, including frame, glass, spacer, and operating type.
“The best glass package is the one matched to the room, not the one with the longest feature list.”
If budget controls the project, choose double-pane Low-E with Argon and spend carefully on installation quality. If interior comfort and noise reduction are major concerns, consider triple-pane glass in the rooms that need it most rather than automatically specifying it everywhere. If existing frames are sound and the budget is tight, a qualified installer may evaluate whether Low-E glazing-only work is appropriate, though that option won't solve damaged frames, poor flashing, or failed rough openings.
The deciding question is not “double or triple?” It's “which openings justify the upgrade?”
Window Installation Costs and Financing in Star, Idaho
Budgeting starts with the opening count, not the square footage of the house. A typical 2,000-square-foot Star home with full-window, frame-and-glass replacement may fall between $8,000 and $22,000, and many projects cluster around $650 to $1,100 per opening installed. These figures are planning ranges, not a quote, because one oversized picture window can change the project more than several standard units.
Several details move the price:
- Frame material: Vinyl usually costs less than fiberglass or composite systems.
- Opening shape: Arched, geometric, and oversized units require more fabrication and labor.
- Egress work: Basement bedroom windows may need code-compliant opening dimensions and additional excavation or well work.
- Replacement method: Retrofit installation can preserve an existing frame, while full-frame removal exposes more of the opening and may reveal repairs.
- Access: Second-story openings, tight side yards, and difficult landscaping increase labor complexity.
I wouldn't approve a quote that hides these factors inside one unexplained total. Ask for the number of openings, product line, glass specifications, installation method, trim work, disposal, permitting responsibility, and payment schedule.
Financing and tax documentation
Synchrony financing can help spread project payments, subject to the lender's approval and the terms offered for your project. Review the annual percentage rate, promotional period, deferred-interest language, and payment requirements before signing. You can find the company's financing information through this window financing resource for Boise and Idaho homeowners.
The federal Energy Efficient Home Improvement Credit may provide a 30% credit, up to $600, for qualifying energy-efficient windows, while the broader home-efficiency framework can reach up to $3,200 for eligible improvements, according to ENERGY STAR's cost and savings guidance (ENERGY STAR window savings and tax-credit information). Eligibility depends on the product, installation, tax situation, and rules in effect when you file.
Keep the NFRC label, manufacturer statement, paid invoice, and installation records. Don't rely on a salesperson's verbal assurance that a product qualifies.

Smart Questions to Ask Your Star Window Installer
Treat the estimate as an interview, not a sales presentation. A professional should answer technical questions without changing the subject to color, discounts, or urgency.
Licensing and insurance
Ask whether the company carries the appropriate Idaho Public Works contractor license, then request current proof of general liability and workers' compensation coverage. Because Star is in Ada County, verify the company information through the Ada County Recorder and keep copies of the documents with your contract.
Products and lead times
Ask which manufacturer will supply the units, which glass packages are available locally, and how specialty grids affect fabrication time. Request the NFRC ratings for the exact product line, not a generic brochure rating. If a salesperson quotes a U-factor verbally, ask to see it on the product label.
Installation method
Get clear answers to these questions:
- Replacement scope: Is the project retrofit or full-frame removal?
- Fin type: Will the unit use a nail-fin or flush-fin configuration?
- Water management: What sill flashing, jamb flashing, and head flashing sequence will the crew use?
- Interior finish: Who removes and reinstalls trim, and what happens if the existing trim breaks?
- Air sealing: What low-expansion foam, backer rod, or sealant system is included?
Jobsite conduct
Confirm the start time, daily cleanup standard, dumpster placement, and landscaping protection. Tight subdivision lots leave little room for material staging, so the installer should explain where the trailer, debris, and replacement units will sit.
Ask for three recent references within 15 miles of Star, including examples in Boise, Meridian, Eagle, Nampa, or Middleton. Drive by a completed project when the homeowner permits it.
The pointed question: “Who is actually on my property doing the work, and is that person W-2 or 1099?”
Finally, ask what the warranty covers. “Lifetime” should be separated into frame coverage, glass, seal failure, labor, and transferability when the home sells.
Installation Quality Checks That Protect Your Investment
Most installation problems begin at the opening, not in the showroom. A premium window cannot compensate for a sill that holds water, flashing that laps backward, or a perimeter gap filled carelessly.
Inspect the water path
The sill should direct water outward. Independent building-science guidance calls for a sill slope of at least 1/15 of the sill depth, approximately a 1/4-inch rise over 3 3/4 inches of depth, along with a back dam, sill flashing membrane, proper lapping to the sheathing membrane, and a small 2–3 mm drainage gap behind the flange (North American building-science window installation guidance).
The flashing sequence should move water back to the exterior:
- Pan flashing integrates with the water-resistive barrier.
- Jamb flashing follows and overlaps correctly.
- Head flashing completes the upper protection.
Don't accept a continuous sealant bead that blocks drainage at the sill. North American fenestration standards use a discontinuous sill sealant bead with two 50 mm, or 2-inch, voids near the ends, allowing liquid water to escape (window sill drainage standard). Alternate drainage systems can use a weep screed or wicking method, but the opening must have a deliberate exit path.
Check the air seal and finish
Low-expansion foam should fill the perimeter without pushing the frame out of square. Backer rod and sealant may be needed where joint depth or movement requires them. Canned foam alone isn't a complete water-management system.
At the final walkthrough, operate every sash, crank, lock, latch, and screen. Look for daylight at the trim, cracked caulk, loose capping, damaged landscaping, and debris in the tracks.
The warranty should distinguish product coverage from installation workmanship. Ask for transferable lifetime coverage on the unit if offered, a separate installation warranty of at least 10 years if included in the contract, and clear language for seal failure in year three or year twenty. Keep the signed contract, product labels, photos of concealed flashing where available, permit records, and warranty contacts.
Getting Your Same-Day Estimate and Next Steps
An online ballpark can help you decide whether to investigate replacement, but it can't see your rough openings, failed trim, second-story access, or bedroom egress conditions. A same-day in-home estimate gives you a measured project scope and a product discussion based on the house you own.
Before the consultant arrives, gather:
- Window count: Mark standard, oversized, picture, casement, sliding, and basement openings.
- Comfort problems: Note cold bedrooms, drafts, condensation between panes, glare, and outside noise.
- Utility information: Have recent bills available if you keep them.
- Property restrictions: Check HOA rules, historic-review requirements, or exterior color limitations.
- Room priorities: Decide which openings need the most help first.
The visit should take approximately 45 to 90 minutes when every opening is measured and inspected. The consultant should check frame condition, confirm bedroom egress requirements, review operating styles, and show how Low-E, Argon, or triple-pane options change the specification.
A written quote may arrive the same day or within 24 hours, depending on product availability and the complexity of the openings. Read it line by line. The quote should identify the window system, glass ratings, installation scope, trim responsibilities, disposal, warranty, financing terms, and permit handling.
Don't wait until the coldest part of the season to discover that a specialty unit needs fabrication time. A measured quote lets you compare installers on the details that protect comfort and the wall assembly, not just the headline price.
For Star, Eagle, Meridian, Boise, and nearby Treasure Valley homes, the sensible next move is to schedule the visit, walk the consultant through your problem rooms, and ask to see the exact NFRC ratings before choosing a package.
C & C Windows & Doors provides free in-home consultations, custom measurements, same-day estimates, and installation options for Star homeowners who want energy-efficient replacement windows and patio doors. Visit C & C Windows & Doors to schedule a Treasure Valley estimate and get a project plan based on your actual openings.