

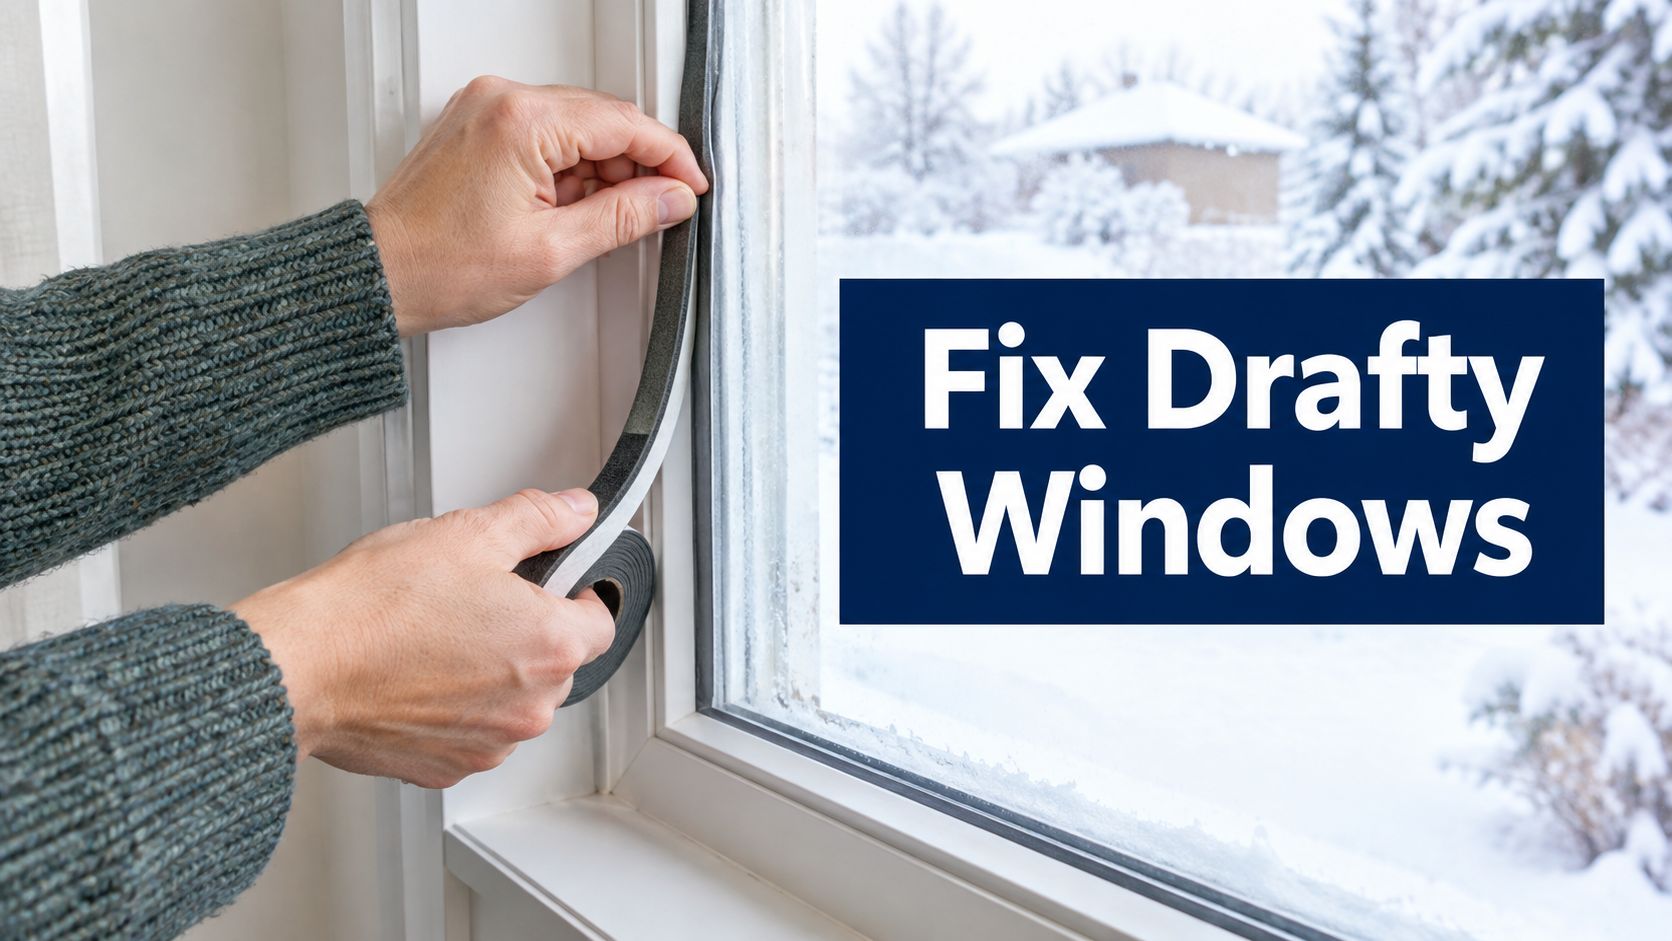
You notice it at night first. The thermostat says the house is warm enough, but the chair by the window feels like it's parked next to an open cooler. In a Boise or Treasure Valley winter, that cold wash along the floor usually gets blamed on the glass.
A lot of the time, the glass isn't the main problem.
Most winter window complaints are really air movement problems. Cold wind finds a path at the sash, the trim, the lock side, the stool, or the rough opening behind the casing. That's why two homes with the same outside temperature can feel completely different indoors. If you want to know how to fix drafty windows in winter Idaho, start by finding where air is getting in, then seal that path, then decide whether a temporary layer, storm window, or full replacement makes sense.
Table of Contents
- Why Idaho Winter Makes Window Drafts Feel Worse
- How to Find Where Your Windows Actually Leak
- Quick DIY Fixes That Stop Drafts Fast
- Storm Windows and Insulating Upgrades That Add Real Savings
- When Repair Is Not Enough and Replacement Makes Sense
- Your Winter Comfort Plan and When to Call a Pro
Why Idaho Winter Makes Window Drafts Feel Worse
A Treasure Valley winter exposes weak windows fast. Cold nights drop the glass temperature, wind pushes air through tiny gaps, and rooms with older windows develop that familiar split personality where the center of the room feels tolerable but the perimeter feels cold.
Cold glass and moving air are not the same problem
Homeowners often lump everything into one phrase: drafty windows. But there are usually two different issues happening at once.
One is heat transfer through the window assembly. The other is air infiltration, which means outside air is getting through the unit or around it. NIST building materials research reports that wind-driven cold-air infiltration through windows may account for 10% to 20% of total winter heat loss in conventional detached residences in winter conditions, which helps explain why drafty windows can drive up heating demand in cold climates like Idaho (NIST window infiltration research).
That matters because the fix changes depending on which problem you have. If the air is moving, you need sealing. If the air isn't moving but the surface still feels cold, you may need a better insulating layer.
Practical rule: If you can feel moving air, treat it as an air-sealing problem first.
Why some rooms feel worse than others
The worst rooms are usually the ones with exposed sides, big picture windows, slider frames, or window groups facing winter wind. I also see more complaints in bedrooms and living rooms because people sit still there longer. You notice drafts more when you're reading, working, or sleeping than when you're walking through a hallway.
Common clues point to different failure points:
- Cold air at the lower corners often suggests weatherstripping failure or poor sash compression.
- A draft at the trim or stool can mean leakage around the perimeter, not through the glass.
- One side of the room colder than the rest often points to multiple small leaks adding up across one wall.
- Condensation patterns or fogging between panes can signal a glass unit issue, which sealing alone won't solve.
Why guessing wastes time
A lot of DIY attempts fail because they start with the wrong product. People put up interior plastic film, heavy drapes, or temporary rope caulk without confirming where the leakage path is. Sometimes that helps a little. Sometimes it just hides the symptom while cold air keeps coming in around the casing or through the latch side.
That's the big shift. Don't ask, “What do I buy for a drafty window?” Ask, “Where is the air entering?” Once you answer that, the repair path gets much clearer.
How to Find Where Your Windows Actually Leak
The fastest way to waste a Saturday is sealing what looks like the problem instead of what is the problem. Window drafts can come from the sash, frame joints, trim gaps, drywall cracks near the opening, or even nearby penetrations that make the window feel guilty.
Use a windy-day smoke test
Idaho Power's winter efficiency guidance gives a simple field method: hold a lit incense stick next to windows, doors, electrical boxes, plumbing fixtures, and outlets. If the smoke stream travels horizontally, you've found an air leak, and the recommended fixes are caulk, spray foam, or weather stripping (Idaho Power winter efficiency guide).

You don't need fancy diagnostic gear for a first pass. A stick of incense, a strip of tissue, painter's tape, and a marker are enough.
Follow this order
- Start at the sash edges. Run smoke slowly along the meeting rail, lock side, hinge side, and lower corners.
- Check the interior trim line. Move around the casing where trim meets wall and where stool meets jamb.
- Test under the stool. That spot gets ignored and often leaks.
- Move to nearby outlets and switches. Air can travel through the wall cavity and show up near the window.
- Check exterior-facing penetrations nearby. Plumbing or cable paths can create drafts that feel like window failure.
A Canadian government energy guide recommends a similar draft test on a cold or windy day using tissue, plastic, or incense near the frame. Flutter or smoke movement indicates a leak, and it also identifies caulking and weatherstripping as one of the quickest ways to reduce heat loss through windows (Natural Resources Canada draft test guide).
Build a leak map instead of relying on memory
Don't trust yourself to remember six weak spots after you walk around the house. Mark them.
Use painter's tape and label each location with a short note:
- Sash leak
- Trim leak
- Bottom stool
- Outlet nearby
- Lock side
- Upper corner
That leak map tells you what category of fix you need. If the smoke reacts at the operable parts of the window, your likely fix is weatherstripping, sash adjustment, or latch pressure. If the smoke reacts at stationary joints or trim lines, you're looking at caulk, trim removal, or rough-opening air sealing.
Air leaks around a “drafty window” often come from joints, trim, or the surrounding wall opening, not the pane itself.
Look for patterns, not isolated spots
One leaking bedroom window is a repair. Three windows on the same elevation leaking at the trim line is usually an installation or aging seal pattern. That distinction matters because it changes whether you should patch one opening or plan broader envelope work.
The other thing to watch is window operation. Open and close each unit. Lock it. If it won't pull in tightly, a new strip of material alone may not solve it. The frame may be out of square, the sash may be worn, or the hardware may not be drawing the unit closed with enough pressure.
If you're trying to figure out how to fix drafty windows in winter Idaho, this is the step that saves the most frustration. Diagnose first. Then repair the actual leak path.
Quick DIY Fixes That Stop Drafts Fast
Once you know where air is entering, you can work from highest impact to lowest. In most Idaho homes, the best sequence is simple: seal fixed gaps first, tighten operable parts second, then add temporary interior layers only after the leaks are under control.
Start with perimeter air sealing
Idaho-focused window efficiency guidance ties winter draft control to low-cost DIY caulking and weatherstripping, and it points to a commonly used high-performance threshold of air leakage at or below 0.3 cfm/ft2 for windows, sliding doors, and skylights under ENERGY STAR program requirements. Lower leakage means less outside air infiltration through the unit itself, while caulking and weatherstripping address leakage around the installation (air leakage and Idaho window weatherization guidance).
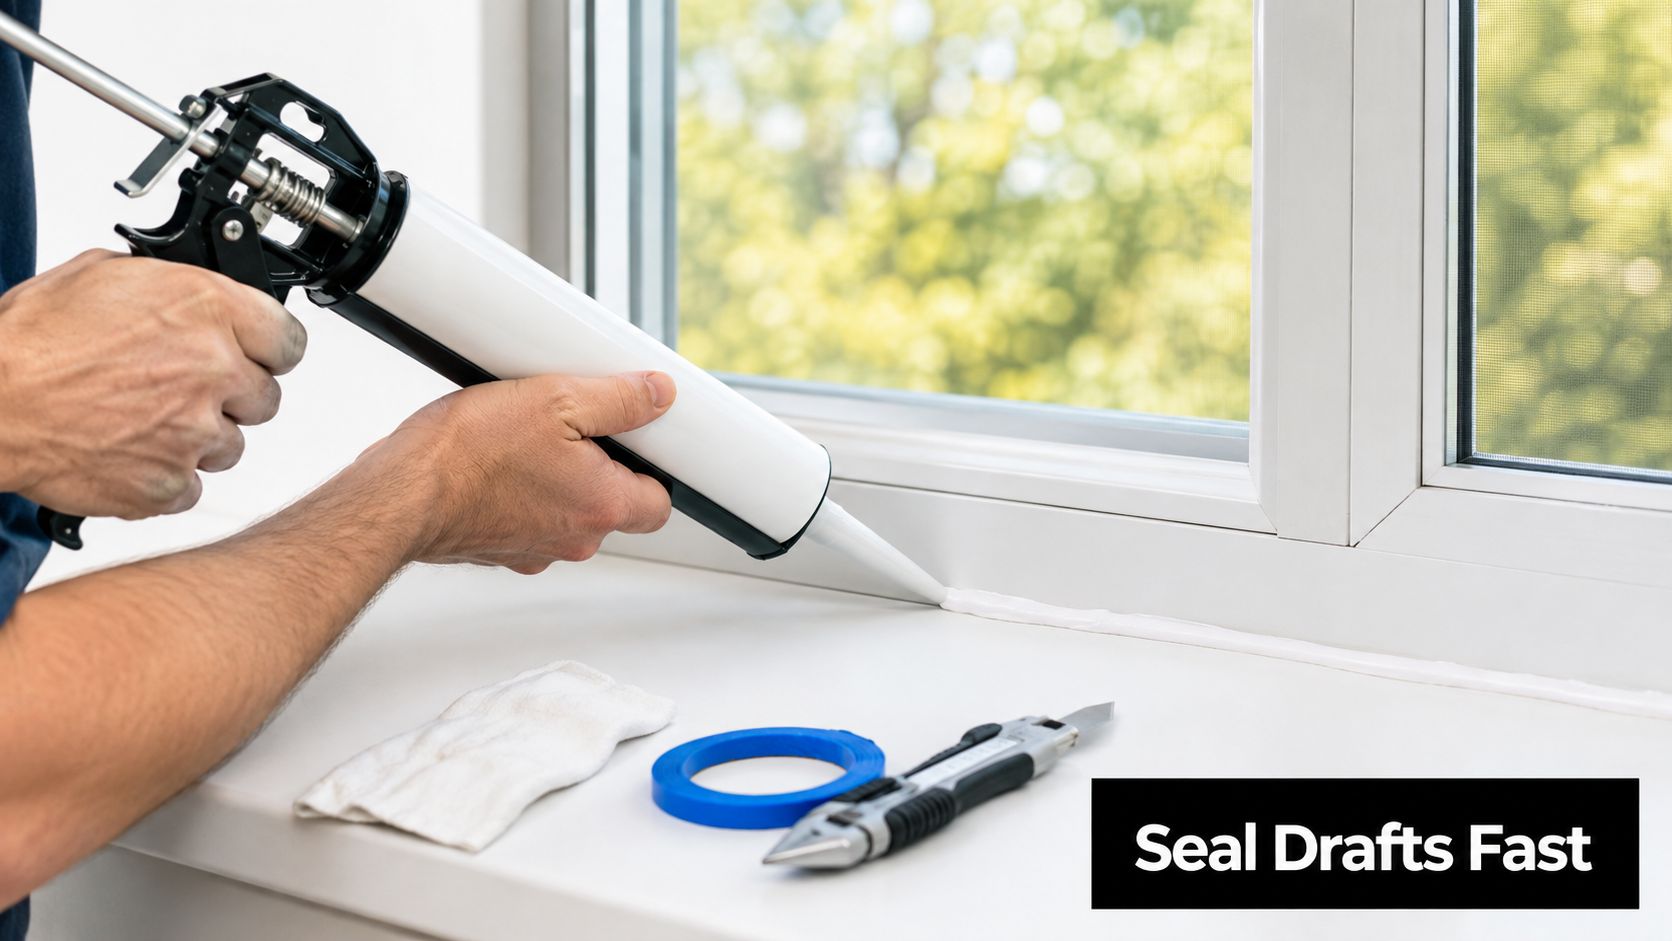
That's why the first job is removing failed material and re-sealing stationary joints.
Use this sequence:
- Cut out brittle old caulk: Don't smear new sealant over cracked material. Remove loose or failing caulk so the new bead bonds properly.
- Seal fixed exterior joints: Apply durable exterior-grade sealant where frame meets trim and trim meets siding or masonry, as long as the joint is meant to be sealed.
- Check interior trim gaps: Small interior cracks can move surprising amounts of cold air.
- Be careful with weep paths: Don't plug designed drainage points in the window system.
Tighten the operable parts
If the draft is at the sash, latch side, or meeting rail, weatherstripping usually does more than another bead of caulk.
Compression weatherstripping works well where the sash needs a tighter seal when closed. The important part is continuity. Corners, lock points, and transition points are where rushed installs fail. If the weatherstripping bunches up, pulls away, or leaves a tiny bypass path, you'll still feel air.
A quick check after installation helps. Close and lock the unit. Then repeat the smoke or tissue test. If the lock doesn't pull the sash in firmly, the hardware or alignment may still be the issue.
Use film and curtains as supplements, not primary fixes
Interior film can help once the leakage path has already been handled. Thermal curtains can also improve comfort by reducing the cold-surface effect. But neither one should be your first move if smoke is still showing air movement at the perimeter or sash.
Thin plastic over a leaky window may make the glass feel warmer, but it won't solve a perimeter leak that's bypassing the assembly.
If you want a room-by-room winter checklist, this Boise window prep guide from C & C Windows & Doors is a useful companion for timing and inspection points.
What DIY can fix and what it can't
DIY works well when the window is sound and the problem is failed caulk, worn weatherstripping, loose trim, or small gaps around the opening. It does not work well when the sash is warped, the frame is deteriorated, the insulated glass seal has failed, or the unit won't close squarely.
Use this as a practical dividing line:
- DIY is usually enough for minor perimeter leaks, missing sealant, and replaceable weatherstripping.
- DIY is usually not enough for recurring leaks after sealing, visible frame damage, chronic latch issues, or deteriorated rough-opening insulation behind casing.
That's the difference between stopping a winter draft tonight and chasing the same cold spot every year.
Storm Windows and Insulating Upgrades That Add Real Savings
If the existing window is structurally sound but still underperforming, the next level up is adding an insulating layer that also reduces infiltration. For winter conditions, the strongest evidence points to tight-fitting low-e storm windows or panels rather than basic film alone.
DOE-linked field studies report average heating-season savings of 10.5%, cooling-season savings of 8.0%, and annual whole-house savings around 10.1% in lab-home testing for low-e storm window applications. The same research set also cites reductions up to 30% on annual energy bills and whole-air-leakage reductions of 10% or more when the attachment is properly installed and the original assembly is still serviceable (DOE utility playbook on storm window performance).
Why low-e storm windows outperform basic add-ons
The gain comes from two places. You add an insulating air layer, and you reduce uncontrolled airflow. That second part is what many homeowners miss.
In older-housing studies, modern low-e storm windows reduced whole-building air leakage by 7% to 17%, and the same research base reports simple payback periods as short as under 5 years for low-e storm windows versus about 10 years for clear-glass versions. Depending on climate and starting window condition, properly installed low-e storm windows were also associated with 11% to 35% HVAC cost reductions (PNNL low-e storm window research summary).
That “properly installed” part matters. If the storm panel fits poorly or leaves perimeter bypass leaks, a lot of the benefit disappears.
Winter Window Upgrade Comparison for Idaho Homes
| Upgrade Option | Typical Energy Impact | Air Leakage Reduction | Payback Insight |
|---|---|---|---|
| Low-e storm window or panel | 10.5% heating-season savings, 8.0% cooling-season savings, and about 10.1% annual whole-house savings in lab-home testing | 10% or more whole-air-leakage reduction reported in DOE-linked research | Research reports payback as short as under 5 years in some cases |
| Clear storm window | Improves comfort and can reduce heat loss, but not as strongly as low-e options | Can help if fit is tight | Research summary places payback at about 10 years |
| Interior plastic film | Can improve perceived surface warmth | Limited if perimeter leaks remain | Best treated as a low-cost comfort measure, not a substitute for air sealing |
When this upgrade makes sense
Storm windows make the most sense when the existing primary window is still in decent shape, the sash and frame are stable, and you want better winter comfort without jumping straight to full replacement. They make less sense when the base window is severely deteriorated or the frame leaks so badly that the added layer can't control airflow.
If your goal is practical winter relief, seal first, then choose the attachment that fits tightly and covers most of the glazing area. Loose add-ons don't perform like tight ones.
When Repair Is Not Enough and Replacement Makes Sense
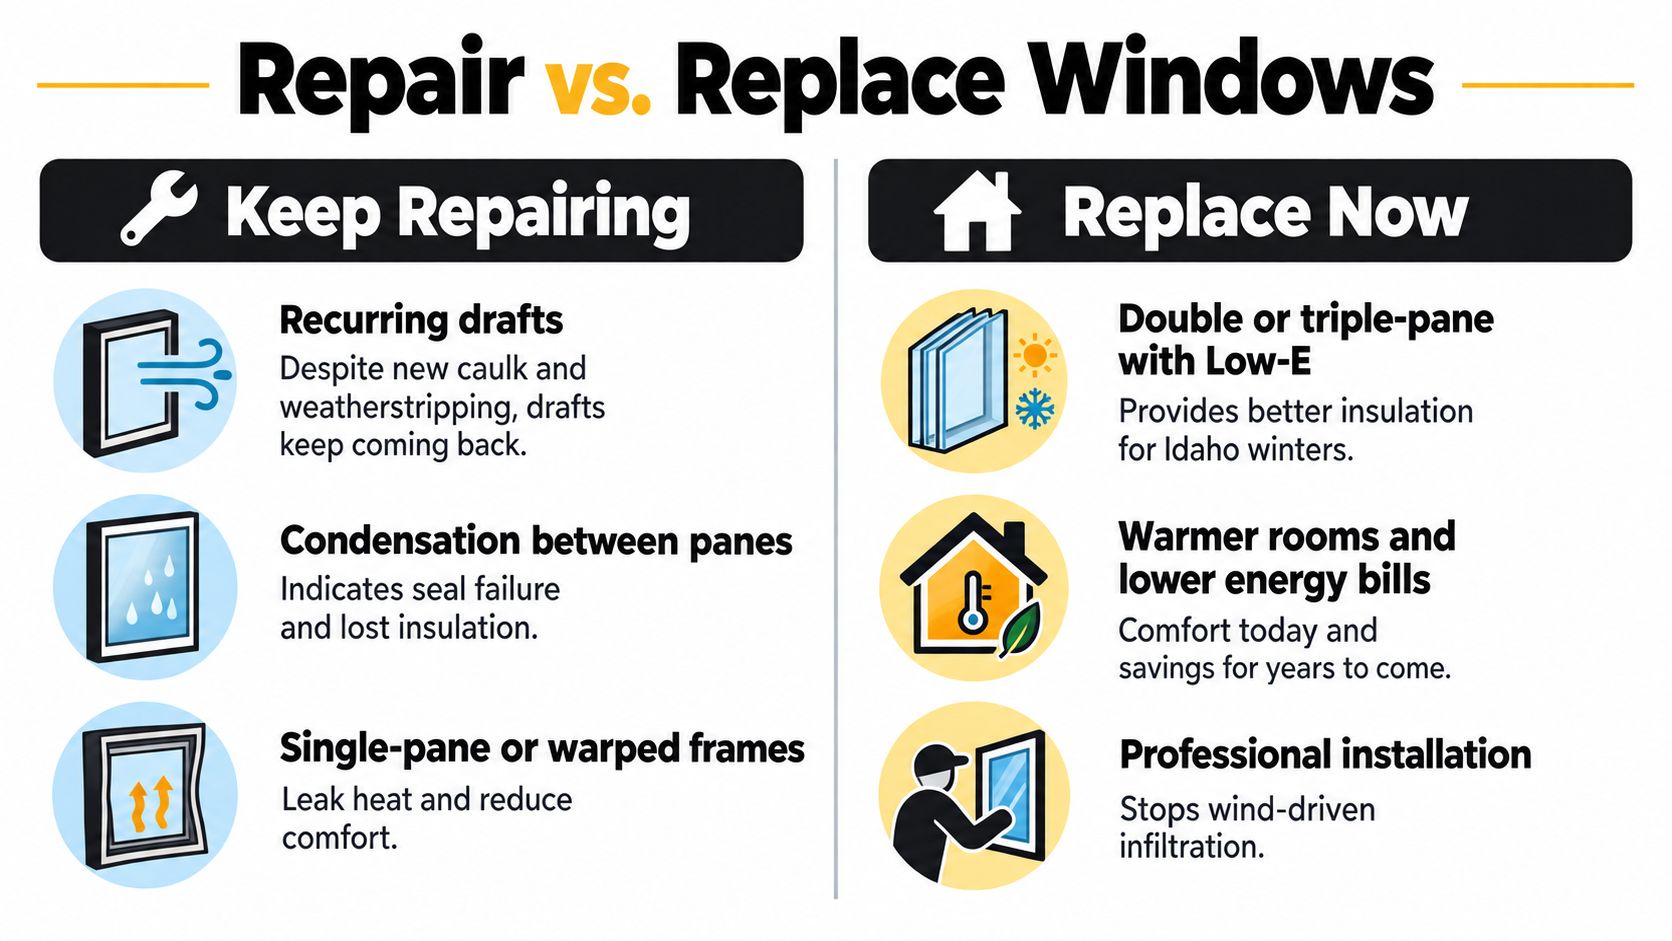
There's a point where patching stops being efficient. If the frame is worn out, the sash doesn't pull in evenly, the insulated glass has failed, or drafts return after careful sealing, replacement becomes the cleaner fix.
Air leakage matters more than pane count alone
For Idaho winters, a commonly used performance target is air leakage of 0.3 cfm/ft2 or less. That's why a well-sealed double-pane unit can feel better in the room than a poorly sealed triple-pane unit. If leakage is the main failure, adding more glass doesn't solve the comfort problem by itself.
A useful nuance comes from Lawrence Berkeley National Laboratory material, which states that infiltration is typically less than 20% of the direct transmission loss, and often less than 10% for reasonably well weatherstripped windows (LBNL window infiltration material). In plain terms, once a window is already weatherstripped reasonably well, the glass and frame package matter more. But if the unit is leaky, air movement can dominate how the room feels.
Signs replacement is the smarter move
Repair usually stops penciling out when you see a cluster of problems, not just one.
- Recurring drafts after sealing: You've replaced weatherstripping, re-caulked, and still feel airflow.
- Condensation between panes: That points to a failed insulated glass seal.
- Rot, warping, or movement in the frame: Air-sealing materials won't stabilize a failing structure.
- Poor operation: If the sash won't align or lock tightly, the sealing surfaces may never compress correctly.
- Single-pane or visibly outdated units: In winter comfort terms, they often leave too much performance on the table.
For a fuller breakdown of decision points, this repair-versus-replacement guide is a practical reference.
What to look for in an Idaho replacement window
In this climate, I'd focus on the whole assembly, not one brochure bullet. Useful upgrades include ClimaTech Low-E coatings, Argon gas fills, and optional triple-pane glass when the home and budget justify it. Frame rigidity, reliable sash compression, a true sloped sill for drainage, and careful installation sealing matter just as much as the glass package.
C & C Windows & Doors is one local option that offers replacement windows built for Idaho conditions with features such as composite-reinforced sashes, low-profile locking, Low-E glass packages, Argon fills, optional triple-pane glass, and ENERGY STAR 7.0 compliance.
If the opening leaks, the installer has to solve the opening. A premium glass package can't cover for sloppy perimeter sealing.
Replacement also makes sense when you want side benefits beyond draft control. Better-fitting units can help with outside noise, more consistent room temperatures, and fewer comfort complaints near large openings.
Your Winter Comfort Plan and When to Call a Pro
The best winter plan is boring, methodical, and effective. Test first. Seal the leaks you can confirm. Retest. Then decide if the room needs an insulating add-on or if the window has reached the end of the repair cycle.
A simple order of operations
Use this checklist to keep the work focused:
- Pick the coldest rooms first: Bedrooms, living rooms, and any room with a sitting area near the window.
- Run the smoke or tissue test: Mark every leak point instead of relying on memory.
- Seal fixed joints and trim gaps: Handle stationary leakage paths before anything else.
- Replace or adjust weatherstripping: Focus on operable sashes and lock-side compression.
- Retest on another cold or windy day: If the smoke still moves horizontally, keep tracking the path.
- Add an insulating layer only after sealing: Film or storms work better when the leakage path is controlled.
When it's time to hand it off
Some problems are bigger than a tube of sealant. Call a pro when the frame is deteriorated, the sash won't close square, the trim leak appears to be coming from the rough opening, or condensation and glass failure point to deeper assembly issues.
If you want to step back and look at the house as a system, a Boise-area home energy audit guide can help you sort window drafts from broader envelope problems.
What matters most is confirming the fix. Don't assume the room is solved because it feels a little better for one evening. Retest the opening, especially after wind picks up. That's how you know whether you fixed the actual path or just softened the symptom.
If your windows still feel cold and drafty after targeted sealing, C & C Windows & Doors can inspect the opening, identify whether the problem is sash leakage, perimeter air infiltration, or full window failure, and recommend the right fix for Idaho conditions. For homeowners who are ready to move past temporary winter patching, visit C & C Windows & Doors to schedule an in-home consultation and compare repair, storm-window, and replacement options.