

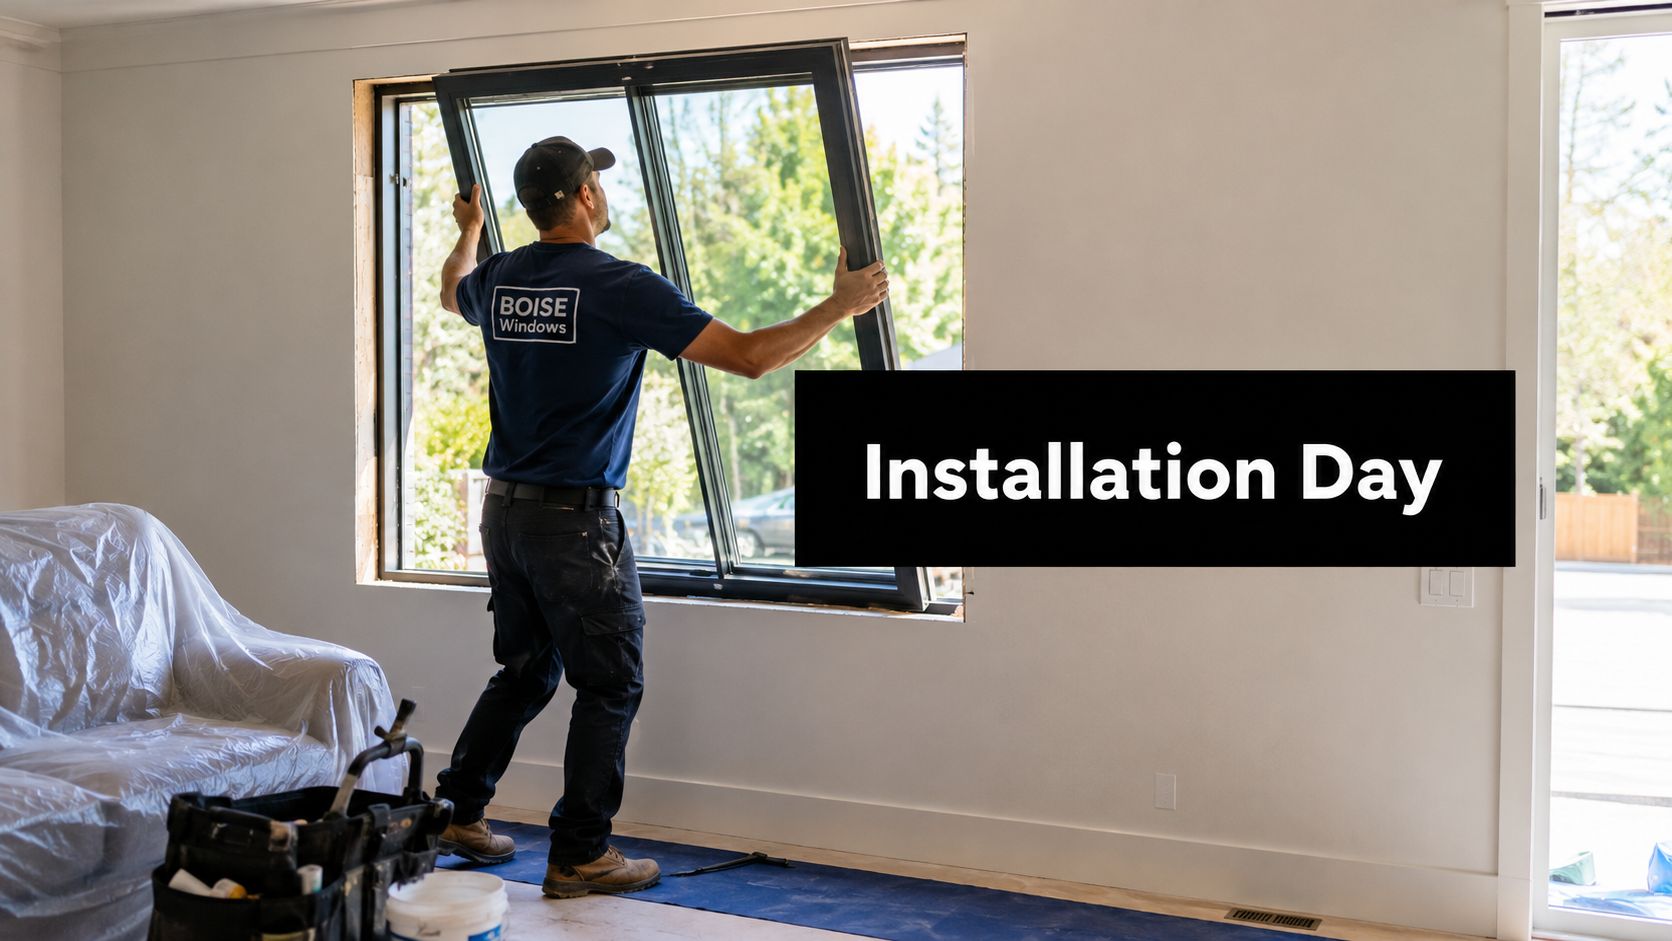
If you're reading this the night before installation, you're probably looking around your living room and wondering how disruptive tomorrow will be. That's normal. Most Boise homeowners aren't worried about the new windows themselves. They're worried about the day: when the crew shows up, how much dust there will be, whether the house will be exposed to the weather, and what happens if an old frame comes out and something ugly is hiding behind it.
A well-run installation day should feel organized, not chaotic. You should know what to clear, what you'll hear, when you'll need to make a decision, and what the crew should handle without being asked. In Boise, that also means accounting for older North End trim details, dry summer dust, winter cold snaps, and the fact that energy performance matters after install, not just on the sales sheet.
Table of Contents
- Your Pre-Installation Checklist for a Smooth Day
- Morning of Installation What to Expect When We Arrive
- The Step-by-Step Window Replacement Process
- Navigating Unexpected Discoveries During Installation
- The Final Walkthrough Cleanup and Project Sign-Off
- Life After Installation Warranty Maintenance and Care
- Frequently Asked Questions About Installation Day
- Do I need to be home the entire time
- What if it rains or snows in Boise on install day
- How much noise and dust should I expect
- Should I turn off my HVAC system
- When can I put blinds and curtains back up
- What if my home is older or has original trim
- How long does the overall process take from order to completion
Your Pre-Installation Checklist for a Smooth Day
By the evening before install day, the house should feel ready for work. The goal is simple. Give the crew clean access to each opening so they can spend their time setting windows correctly, protecting finishes, and keeping the job on schedule.
That prep matters even more in Boise homes with tighter rooms, mature landscaping, or older trim details. In the North End, for example, we often see original casings, settled plaster, and furniture layouts that leave very little working room. A little planning the night before prevents a slow start and reduces the chance of a bumped lamp, scraped wall, or dusty fabric chair sitting too close to the action.

The night-before checklist
- Clear pathways to windows, inside and outside. Move small furniture, floor lamps, plant stands, and anything else that narrows the route from the entry to the work areas.
- Pull larger furniture away from each opening. A few feet of working space helps the installers remove sashes, set the new unit, insulate properly, and trim it out without fighting the room.
- Remove valuables, art, and breakables nearby. Take framed items off the wall around the window and clear fragile décor from tables and shelves.
- Take down blinds, curtains, and window treatments completely. This protects the fabric and hardware, and it gives the crew full access from the start.
- Secure pets in a separate room or safe area. Open doors, tools, and repeated trips in and out create too many chances for a pet to slip out or get underfoot.
- Plan for kids to stay out of the work zone. Glass, sharp tools, cords, and debris are easier to manage when children have another space to use.
- Point out the nearest power outlet. Crews bring tools and cords, but knowing the best outlet helps keep traffic areas clearer.
One practical rule covers a lot of this. If you do not want dust on it, move it away from the window.
Boise-specific prep that helps
Boise homes bring a few details that national checklists usually miss. If your home has older wood windows, painted-shut sashes, thick stucco returns, storm windows, alarm contacts, or custom interior trim, tell your installer before arrival. That does not mean the project is in trouble. It means the crew can come in with the right plan, the right protection, and enough time for the parts of the job that take longer.
Exterior access matters too. In Boise neighborhoods with narrow side yards, decorative rock, raised flower beds, or irrigation close to the foundation, clear a path ahead of time and point out anything the crew should avoid stepping on. During hot, dry stretches, crews may prefer to stage materials out of direct sun when possible, especially on darker frames and trim components. In colder months, the prep focus shifts to keeping work areas accessible and dry so installation materials perform the way they should.
If you suspect there may be hidden issues around older openings, say so early. Soft trim, staining, sticking windows, or a draft that never improved can point to moisture damage behind the casing. Good crews would rather know that before the first tool comes out. It helps set realistic expectations if rot repair or extra carpentry becomes part of the day.
If you're still vetting contractors, this guide on how to choose a window company in Boise Idaho shows what to look for beyond a clean sales presentation.
Morning of Installation What to Expect When We Arrive
At 7-something on installation morning, most homeowners are still finishing coffee, getting kids out the door, or clearing a last path through the living room. A good crew knows that. The arrival should feel organized from the start, not rushed or chaotic.
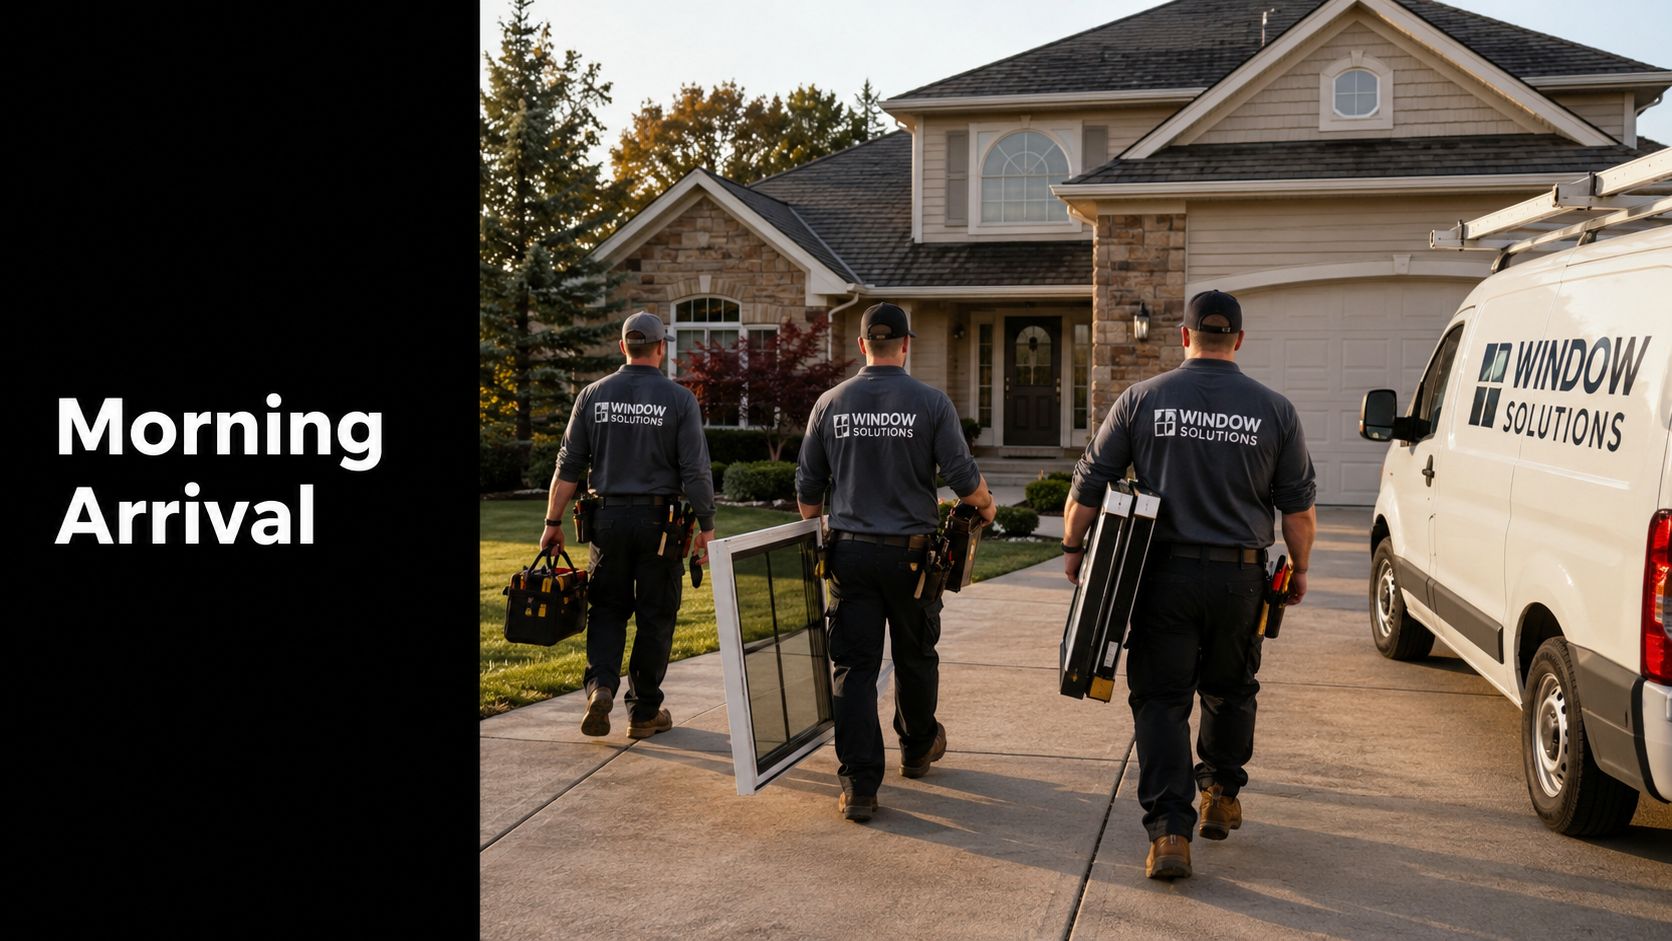
In Boise, crews often arrive early in the day so they can get protection down, review the work order, and start on exterior-sensitive openings before afternoon heat picks up. On older North End homes, that first walkthrough matters even more because trim details, settled framing, and layered repairs from past decades can change the plan at the first window.
What happens in the driveway and at the front door
The crew usually stages tools and new units outside first, then the lead installer checks in with you before work begins. This is a field check. The lead confirms the window locations, identifies the first rooms, and asks about anything that changed since final measure, such as furniture placement, pets, alarm sensors, or a room that now needs to stay accessible.
You should also expect a quick conversation about the day's logistics. Where can materials be set down safely? Which door should the crew use? Are there sprinklers, garden beds, or tight side yards that affect exterior access? On Boise lots with decorative rock, mature landscaping, or narrow setbacks, those details save time and prevent avoidable damage.
How the house gets protected
Protection goes down before removal starts. Floor runners, drop cloths, and coverings around nearby furniture are standard practice on a well-run job. If a window opening is above a bed, built-in bench, or delicate flooring transition, the crew should account for that before a single sash comes out.
Glass and frames may still have factory film or corner protection while they are being carried in and set. That is normal. The goal is simple: keep the new unit clean, keep finished surfaces protected, and keep traffic patterns controlled so the house does not feel like an open construction zone.
A solid arrival sequence usually looks like this:
- The lead installer confirms the day's scope and any house-specific concerns.
- Protection is set first on floors, furniture, and nearby finishes.
- Windows and tools are staged by phase so the crew is not carrying materials back and forth all day.
- The starting point is chosen intentionally, often based on weather exposure, room use, and access.
- The homeowner gets a quick expectations update on noise, where the crew will be working, and when they will need you for questions.
The best install mornings are steady and a little uneventful. That usually means the crew has a plan.
If you work from home, expect the quiet part to end once the first unit comes out. Removal creates noise. Cutting, prying, fastener removal, and shop-vac cleanup are all part of the job. What matters is whether the crew contains the mess, communicates clearly, and keeps the house secure as each opening is completed.
One more point matters in Boise, especially in older homes. If the crew finds hidden rot, insect damage, or framing that is out of square, that usually shows up after the first window is opened, not during the sales visit. A professional team will stop, show you the issue, explain the repair options, and tell you what changes for timeline or cost before pushing ahead. That kind of pause is a sign the job is being handled correctly.
The Step-by-Step Window Replacement Process
Once work starts at the first window, homeowners can finally see the rhythm of the day. In a Boise home, that rhythm matters. The crew is balancing speed with weather exposure, keeping openings protected, and making sure each unit is square, sealed, and operating the way it should before moving on.
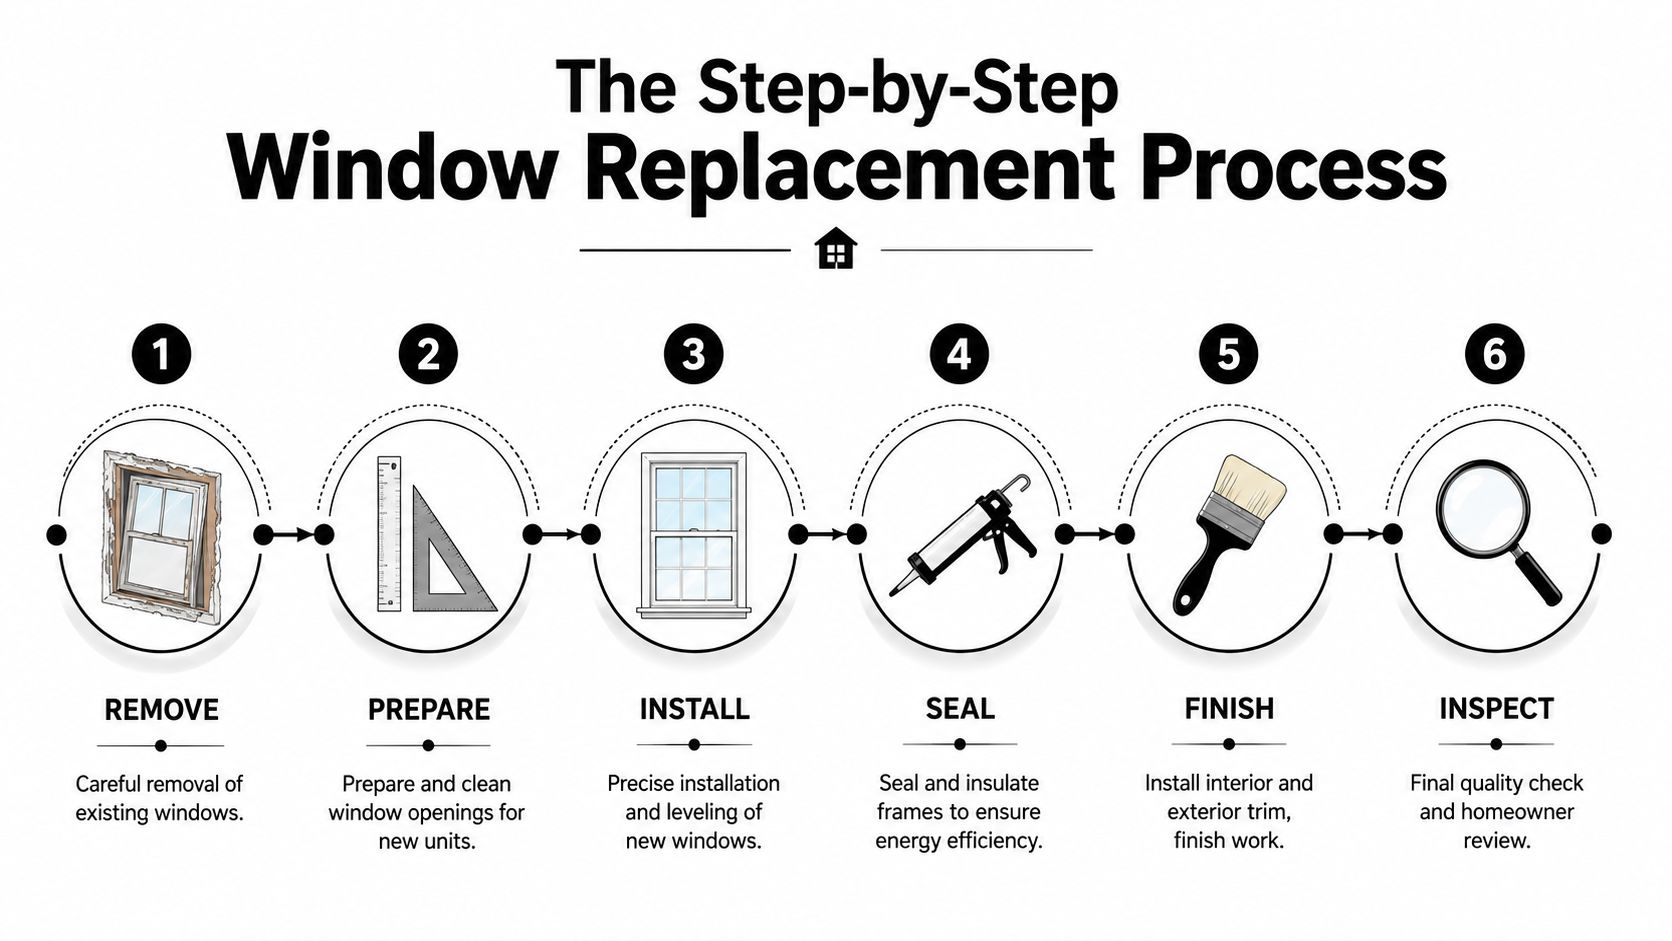
A standard replacement window usually follows the same field process, but the pace changes with access, size, trim details, and the condition of the existing opening. A main-floor vinyl insert in a newer subdivision moves faster than a full-frame replacement in the North End, where older wood trim, settled framing, and past patchwork repairs can slow things down for good reason.
What you'll see at each opening
The existing sash or frame comes out
This is usually the noisiest part. Crews remove stops, cut old sealant, back out fasteners, and work the old unit free without damaging surrounding finishes that will stay.The rough opening gets checked and cleaned
Once the old window is out, the installer clears debris, checks for softness in the sill, looks for gaps or movement in the framing, and confirms the opening is ready for the new unit.The new window is dry-fit and adjusted
Before it is fully fastened, the unit is set in place and checked for level, plumb, reveal, and operation. If a window is even slightly out, you can end up with sash drag, lock alignment problems, or premature seal stress.Fastening, insulation, and exterior sealing are completed
Performance is won or lost during these steps. A good-looking install can still leak air if the perimeter insulation is sloppy or the exterior sealant joint is wrong. If you have seen fogging or performance issues in older units before replacement, many of those symptoms start with problems like failed window seals and glass unit breakdown in Boise homes.Interior and exterior finish details are completed
The crew reinstalls or replaces trim as needed, cleans the glass, and makes sure the finished result looks intentional instead of pieced together.Operation is checked before the crew leaves that opening
The window should open, close, lock, and sit evenly. On colder Boise days, this check also helps confirm the opening was sealed properly before the crew moves deeper into the house.
What the house feels like during installation
You will notice short bursts of outside air while an opening is active. In Boise, that can mean a quick chill in January or a spike of heat during a dry summer afternoon. The house should not stay exposed for long at any one window if the crew is working in the right sequence.
Dust, tool noise, and foot traffic are part of the day too. Good crews control those well, but nobody should promise a silent job. If you are home during the install, expect stretches where a room is temporarily off-limits while removal, fastening, and trim work are happening.
Trade-offs a good crew manages in real time
| Approach | What works | What causes problems |
|---|---|---|
| One completed opening before starting the next | Keeps the home more comfortable and secure | Leaving multiple openings exposed to save a few minutes |
| Careful shimming and adjustment | Better operation and longer-term performance | Rushing a unit into place because it "looks close enough" |
| Targeted insulation and clean sealant lines | Better air sealing and a cleaner finish | Overfilling gaps, sloppy caulk, or skipped prep |
| Room-by-room staging | Fewer surprises for the homeowner and crew | Constantly changing access plans once installation is underway |
One practical point matters here. Fast work is not always good work. In Boise's climate, with hot summers, cold snaps, and older housing stock in neighborhoods like the Bench and North End, a replacement window has to do more than fit the hole. It has to operate cleanly, hold its seal, and handle seasonal expansion and contraction without creating drafts or callbacks.
Navigating Unexpected Discoveries During Installation
This is the part most articles skip. They talk about prep, timing, and cleanup, but they glide right past the moment an installer removes an old unit and finds rot, mold, or water damage in the opening.
That can happen in Boise homes of any age, but it gets more common in houses with older wood components, long-term caulk failure, or years of weather exposure around the frame. The problem isn't just the damage itself. It's whether the crew handles it clearly or turns it into an uncomfortable surprise.
What should happen when damage is uncovered
In up to 40% of replacement projects, installers uncover pre-existing damage like rot or mold once the old window is removed, according to this article on what homeowners should expect during professional installation.
When that happens, the right move is straightforward:
- Pause work on that opening. Don't bury damage behind a new unit just to stay on schedule.
- Show the homeowner the issue. Photos help, especially if the damage sits behind trim lines or in the sill area.
- Provide a written repair estimate. You should see what work is needed before anyone proceeds.
- Get homeowner sign-off first. No extra work should move forward without approval.
That process prevents the two outcomes homeowners hate most: surprise charges and rushed repairs.
Why transparency matters more than speed
A rushed crew will sometimes treat hidden damage like an inconvenience. A disciplined crew treats it like a decision point. That's the difference between installing a window and managing a project properly.
If rot is found around the opening, the timeline may shift for that unit. That's not a red flag by itself. The red flag is when no one explains what changed, what it will take to fix, and how it affects the finish and warranty.
If damage is real, slowing down is the professional move.
In Boise, one common source of confusion is when homeowners assume a replacement quote includes any repair behind the old frame. It usually doesn't unless the opening was already exposed during inspection. Hidden conditions are hidden by definition.
Questions to ask before approving added work
If the crew uncovers damage, ask these questions on the spot:
- What exactly was found, and where is it located?
- Does the repair affect structure, trim, insulation, or all three?
- Can this window be completed today after repair, or does it need a return visit?
- Will the added repair change the final appearance inside or outside?
- Does the warranty change if damaged surrounding materials are left unaddressed?
Homeowners dealing with recurring moisture issues around failed units may also want to read more about window seal failure in Boise, because not every drafty or fogged window problem starts with the glass itself. Sometimes the surrounding assembly tells the bigger story.
The Final Walkthrough Cleanup and Project Sign-Off
By late afternoon, the noise is down, the glass is in, and the house starts to feel like yours again. This is the part homeowners often rush through, but it is where a good installation gets confirmed.
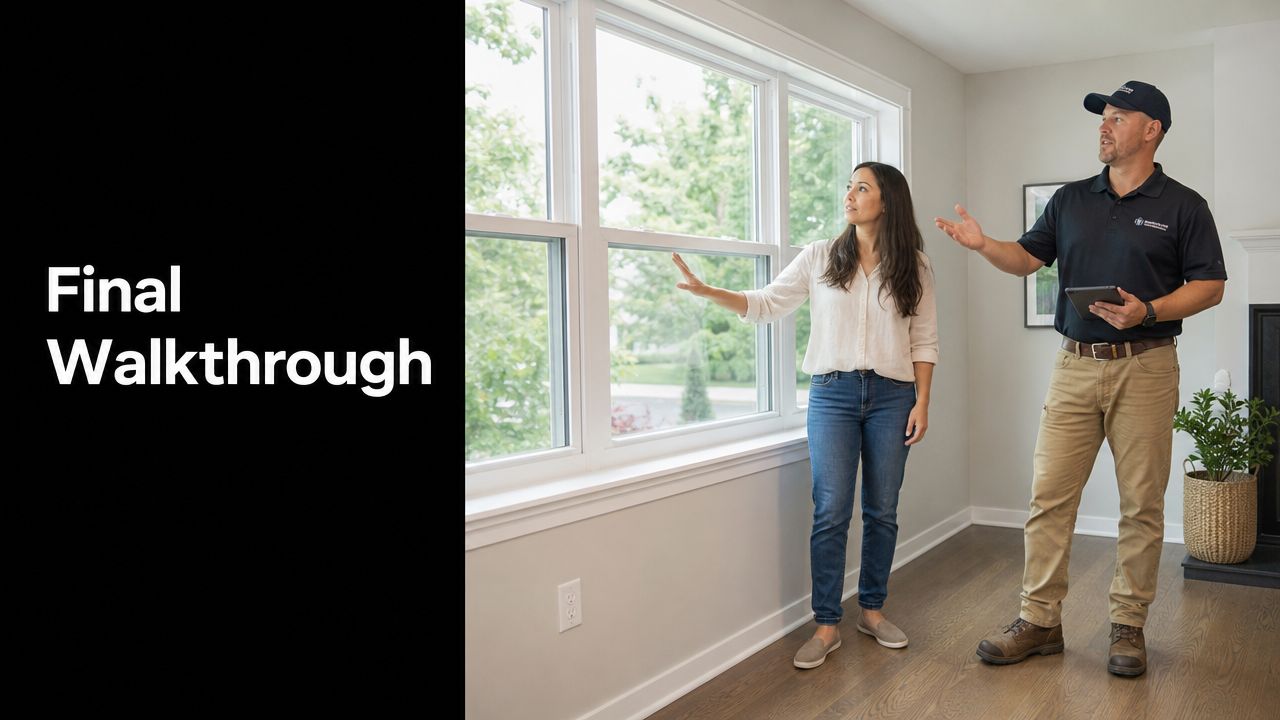
The job is complete after three things happen: the work area is cleaned, each window is tested with you, and any loose ends are written down before the crew leaves. On Boise projects, that final review matters even more in older neighborhoods like the North End, where walls, trim, and openings are not always perfectly square and small finish details deserve a careful look.
What cleanup should look like
A professional crew should haul away the old units, broken-down packaging, fasteners, and day-of debris. Floor protection comes up after the last active work is done and after the crew has vacuumed or swept the work areas.
Look for the basics. No glass bits in the flower bed. No old sash parts leaning against the garage. No screws under the window stool or in the carpet where kids and pets will find them first.
If trim touch-up or paint is still pending, that should be stated clearly during sign-off so it does not get mistaken for missed cleanup.
Your walkthrough checklist
Use the walkthrough to check operation first, then finish quality.
- Open and close each unit. The sash should move smoothly and stay aligned.
- Secure and release every window. Hardware should engage without forcing it.
- Check screens. They should fit correctly and come in and out the way the manufacturer intended.
- Look at casing and trim lines inside. Small variations can happen in older Boise homes, but the finished result should look clean and intentional.
- Inspect the exterior from the ground. Seal lines should look neat, and visible gaps or rough finish work should be addressed before sign-off.
- Ask the crew to show you any capping, flashing, or trim transitions that were part of the scope.
- Confirm what was repaired versus what was left as-is. If hidden rot or water damage was found earlier, the final walkthrough should show you exactly how that opening was finished.
One practical question I always want homeowners to ask is simple: "Show me anything you want me to keep an eye on during the first season." A careful installer will usually have a straightforward answer.
Boise performance checks before you sign
Appearance matters, but Boise homeowners feel installation quality in January and August. Our climate exposes small air leaks fast, especially on west-facing elevations that take hard sun in summer and cold wind in winter.
You do not need a technical inspection report to sign off on a project. You should get a clear explanation of how the crew confirmed the unit was insulated, sealed, and adjusted properly. On some homes, especially older brick or plaster homes, a minor follow-up adjustment may still be the right call after the house settles through a weather cycle.
That is also a good time to ask realistic lifespan questions, because product quality and installation quality work together. Homeowners who want that bigger picture can review how long replacement windows typically last in Idaho before they file away their paperwork.
Your signature should confirm the project was reviewed with you, cleanup was finished, and any remaining punch-list items were documented with a plan. That is what professional sign-off looks like.
Life After Installation Warranty Maintenance and Care
A good installation day is important. Long-term performance is what makes the investment feel worthwhile six months and six winters later.
Homeowners tend to focus on glass at first because that's what they see. But daily satisfaction usually comes from the less glamorous things: windows that slide and lock without sticking, frames that stay clean easily, sills that drain properly, and service that doesn't disappear after the invoice is paid.
What warranty support should give you
A strong warranty should cover two different things clearly. First, the window product itself. Second, the labor used to install it. If either side gets vague, homeowners can end up stuck between a manufacturer and an installer pointing at each other.
For Boise homes, that matters because weather exposes installation shortcuts fast. If a unit develops an operational problem or a perimeter issue appears after seasonal expansion and contraction, you want one direct path to resolution.
Simple maintenance habits that help
Routine care doesn't need to be complicated. It just needs to be consistent.
- Clean glass with non-abrasive materials. Gentle cleaning protects low-E surfaces and keeps visibility sharp.
- Wipe down frames and tracks. Dust, pollen, and grit build up over time, especially in dry Treasure Valley conditions.
- Operate the windows regularly. A window used often tells you early if anything starts binding or drifting out of adjustment.
- Check weep and drainage areas visually. Sloped sills and drainage features work best when debris isn't blocking the path.
- Use hardware as designed. Low-profile locks and moving parts last longer when they're not forced.
What doesn't work after install
A few homeowner habits create avoidable problems:
| Habit | Better approach |
|---|---|
| Using harsh chemicals on frames or glass | Use mild cleaners and soft cloths |
| Ignoring small operation changes | Report sticking, rubbing, or lock misalignment early |
| Letting dirt sit in tracks | Wipe and vacuum tracks periodically |
The long-term goal is simple. Keep the unit clean, keep it moving properly, and don't ignore small issues until they become service calls.
For insight into how long quality replacement units should hold up in this climate, this article on how long replacement windows last in Idaho gives useful local context.
Frequently Asked Questions About Installation Day
Do I need to be home the entire time
Be there at the beginning and at the end. During the day, you do not need to shadow the crew from room to room, but an authorized adult should stay reachable by phone.
That matters if we find something behind the old unit that needs a quick decision, especially in older Boise homes where settled framing, outdated trim details, or hidden moisture damage can show up once the window is out.
What if it rains or snows in Boise on install day
Boise weather changes fast, and a good crew plans for that. We replace openings in sequence so the house is not left exposed longer than necessary.
Light weather usually does not stop the job. A real wind, snow, or water issue can. If conditions threaten the install quality, the right call is to pause, protect the opening, and reset the schedule instead of forcing it.
How much noise and dust should I expect
Expect a fair amount of noise during removal, fastening, and trim work. Dust is part of the job too, especially in dry Treasure Valley conditions where fine debris travels easily.
A professional crew should control it with floor protection, plastic barriers where needed, organized staging, and cleanup throughout the day. You should see the house getting cared for while the work is happening, not just at the end.
Staying home is usually fine. Keep kids and pets out of active work areas, and ask the crew which rooms will be in rotation next.
Should I turn off my HVAC system
Usually, yes, at least while openings are actively being replaced. That helps keep dust from getting pulled through the system when parts of the house are briefly open.
If the day is especially hot or cold, ask the crew how they prefer to handle it room by room. In Boise, temperature swings matter, and a little coordination keeps the house more comfortable.
When can I put blinds and curtains back up
Wait until that window is fully finished and you have looked it over with the crew. It is easier to check operation, lock alignment, interior trim, and caulking before window coverings go back in place.
For wood trim or custom treatments, giving the area a little extra time also helps prevent scuffs and dust from undoing the final cleanup.
What if my home is older or has original trim
Say that early, before install day if possible. Homes in the North End and other older Boise neighborhoods often need a slower approach because openings are rarely perfectly square and original casing can split if rushed.
Good installers account for that. They remove carefully, protect what can be saved, and tell you plainly if a piece of trim, plaster, or framing is too deteriorated to reuse.
How long does the overall process take from order to completion
Installation day is only one part of the schedule. The full timeline depends on product lead times, the number of windows, the condition of the existing openings, and whether the crew runs into repairs such as rot or water damage once work starts.
For a straightforward project, the install itself may take a day or two. The full process from measurement to final completion often takes several weeks, as noted earlier.
If you're planning a window project in Boise or anywhere in the Treasure Valley, C & C Windows & Doors can help you understand the process, prepare your home, and get replacement windows installed with the kind of care homeowners expect on installation day.