

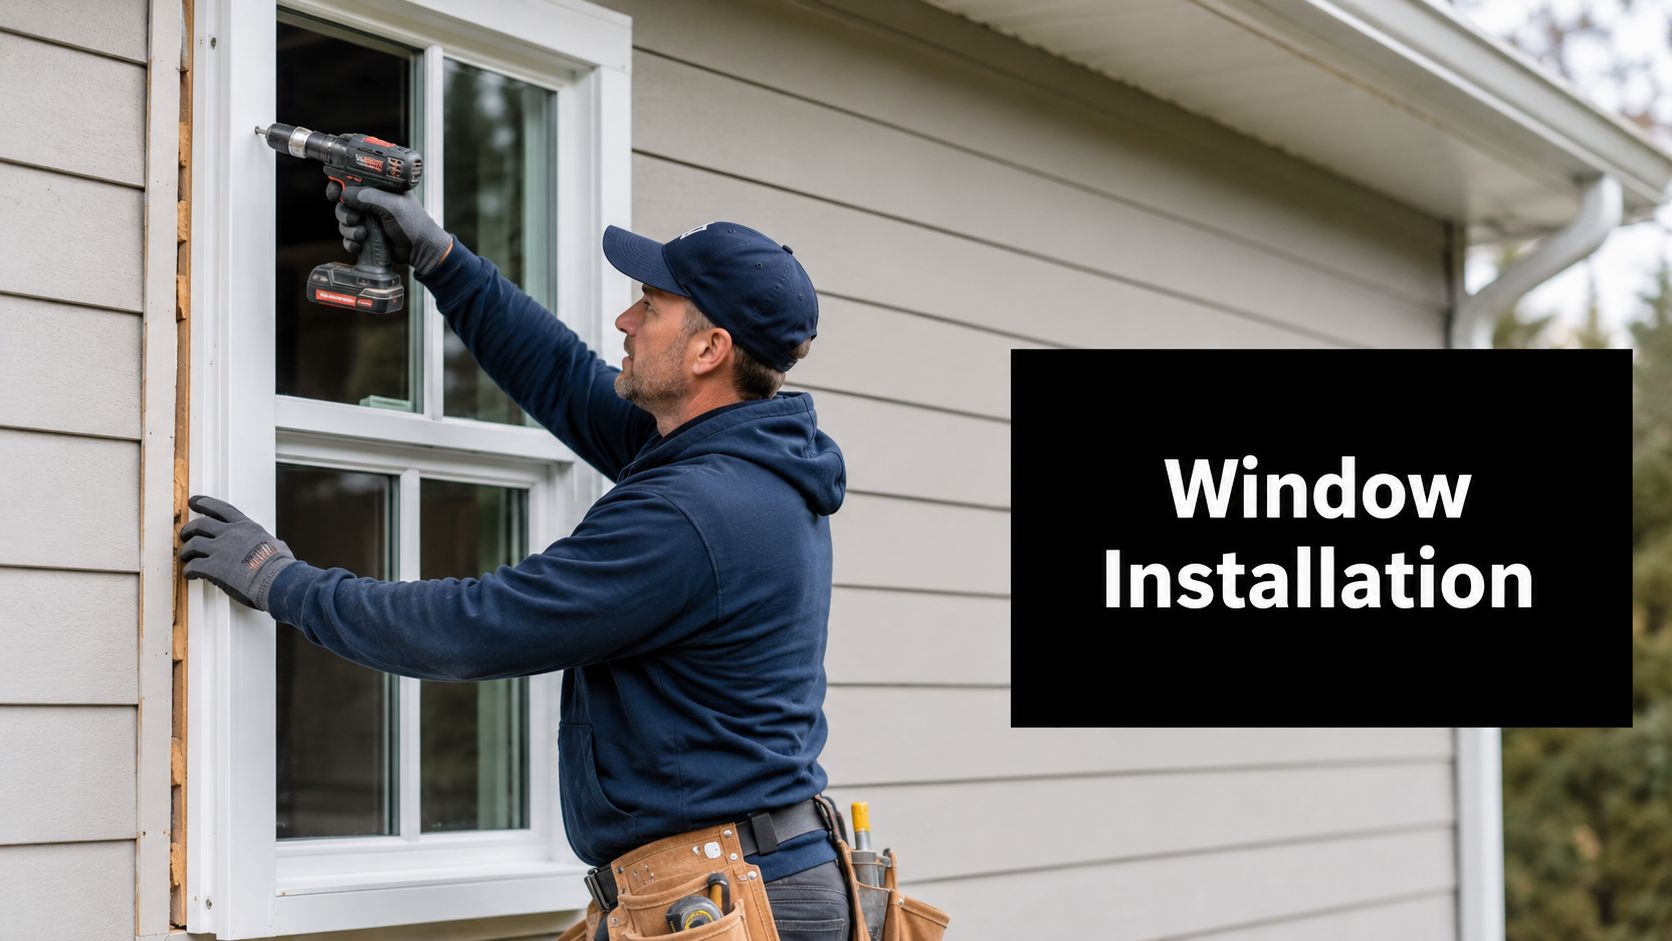
You're probably reading this after noticing one of the usual signs. A room feels drafty in winter. Afternoon sun turns one side of the house into a greenhouse. A sash sticks. Condensation keeps showing up where it shouldn't. Or maybe the windows still work, but they make the whole house feel dated.
At that point, most homeowners want the same thing. They want to know what to expect from a window installation step by step, how long it takes, what the crew does, what they need to do before install day, and how to tell whether the work was done right. That's fair. Window replacement is one of those projects that looks simple from the curb and gets very technical once the old unit comes out.
In Treasure Valley homes, those details matter. Our climate puts pressure on seals, frames, drainage paths, and glass performance. A clean-looking install that skips the right prep can still become a leaky or drafty install. A careful process avoids that.
Table of Contents
- Your Journey Begins With the Consultation and Plan
- How to Prepare Your Home for New Windows
- What to Expect on Installation Day
- Finishing Insulation Sealing and Cleanup
- Your Final Walkthrough and Lifetime Warranty
- Frequently Asked Questions About Window Installation
Your Journey Begins With the Consultation and Plan
A lot of window projects feel simple at the start. A homeowner in Boise or Meridian says the bedroom is cold, the living room gets too much afternoon heat, or the old double-hungs are getting harder to open every year. Then the consultation starts, and the full scope of the project becomes clear. The product, the installation method, the trim details, and the schedule all have to fit the house you have, not the one shown in a brochure.
At C&C Windows & Doors, we treat that first visit as the planning stage that sets the tone for everything that follows. Good installation crews solve problems on site. Good project planning prevents a lot of those problems from showing up in the first place.
What happens at the first appointment
The first in-home visit should answer three questions. What is bothering you about the current windows. What condition are the existing openings in. What replacement approach makes the most sense for this specific home.
In Treasure Valley homes, those answers vary more than homeowners expect. A west-facing room in Nampa deals with different heat gain than a shaded north-facing room in Eagle. An older home with settled framing may call for a different installation approach than a newer home with openings that are still square and consistent. That is why we measure carefully, check operation, inspect visible frame condition, and talk through how each room performs across the year.
That is also where Mezzo windows come into the conversation in a practical way. We are not just picking a style name off a sheet. We are matching a product to the job. Mezzo replacement windows give homeowners good flexibility on operation types, frame profiles, glass packages, and performance upgrades such as ClimaTech Low-E glass, argon gas, and triple-pane options. Those choices affect comfort, glare control, outside noise, and how the home holds temperature in both winter and summer.
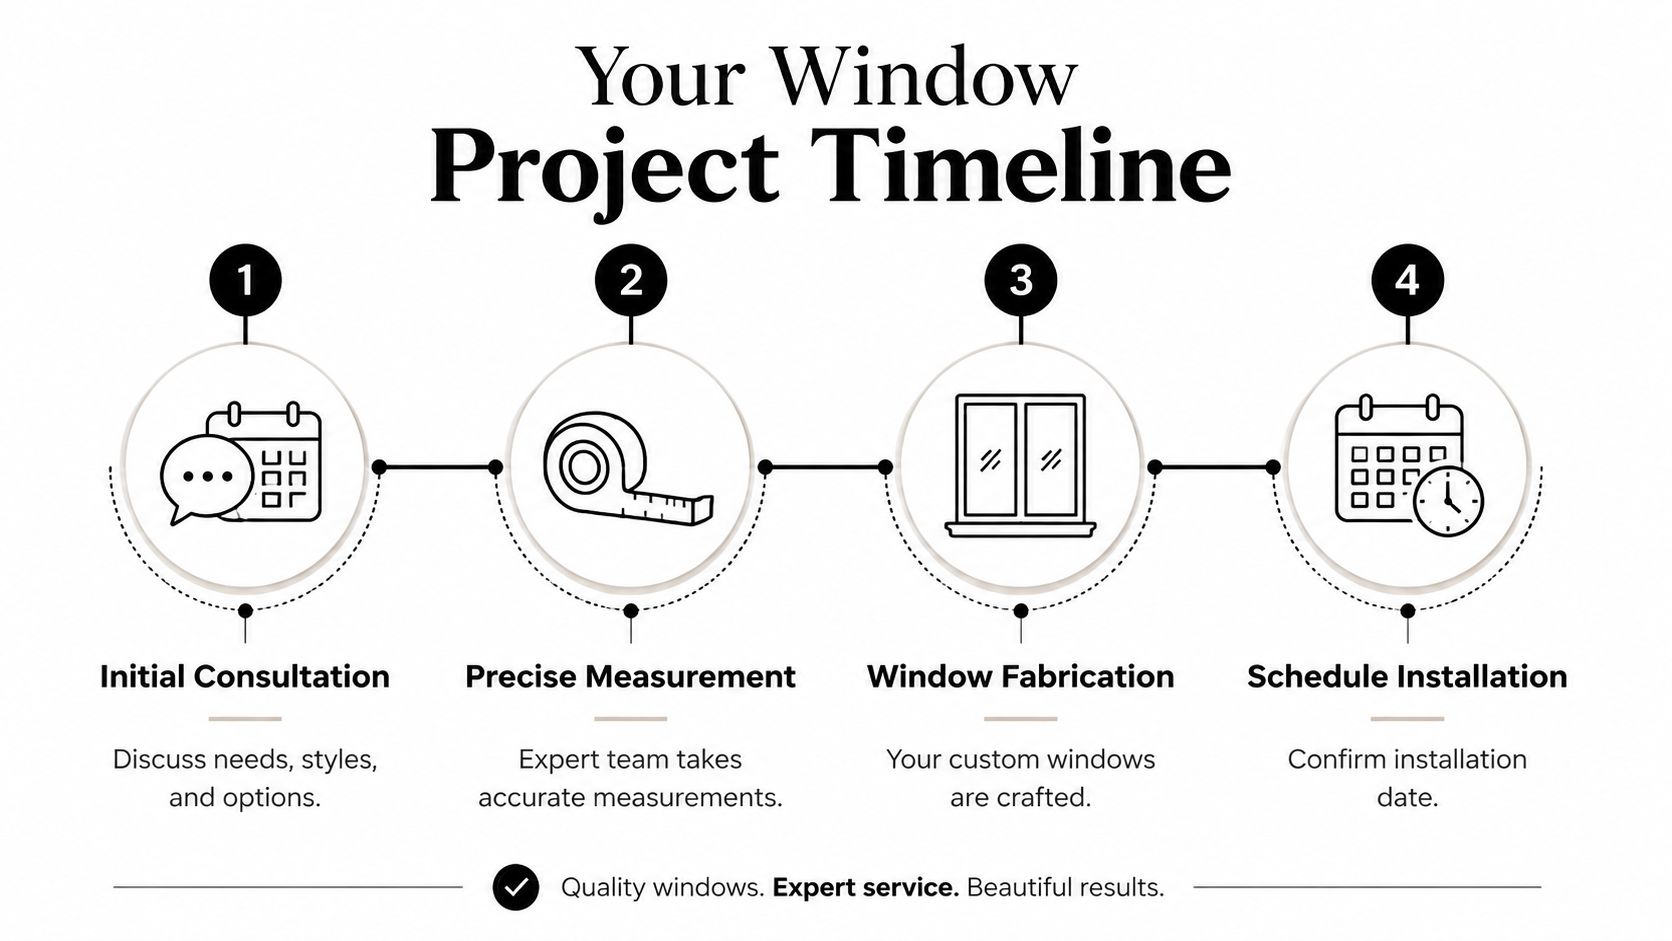
Homeowners also need a realistic timeline early. The installation day is only one part of the project. Ordering custom windows, confirming measurements, and coordinating the schedule usually take longer than people expect. The National Association of Home Builders overview of replacement windows notes that replacement decisions and timing depend on product selection, home conditions, and project scope, which lines up with what we see in the field.
One rushed decision at this stage can create weeks of frustration later.
Practical rule: The cleaner the planning process, the cleaner the installation. Most avoidable problems start with incorrect measurements, the wrong product choice, or vague expectations about what will be replaced.
What gets decided before anything is ordered
This is the point where direct questions matter. Are we keeping the existing frame and installing an insert, or does the condition of the opening justify a full-frame replacement. Will interior stops or trim be affected. What will the exterior finish look like when the work is done. If we uncover hidden rot or water damage, who makes the call and how will that change the scope.
Those are real trade-offs, not sales talk. An insert replacement usually saves time and preserves more of the existing interior and exterior finish. A full-frame replacement gives us access to the whole opening and is often the better choice when the old frame is compromised, out of square, or showing signs of moisture damage. The right answer depends on the house.
A solid consultation should also leave you with a clear sense of how the company operates. If you are still comparing bids, this guide on how to choose a window company in Boise Idaho lays out what to look for in workmanship, scope, and accountability.
Before the consultation, it helps to have a few things ready:
- A priority list: Comfort, lower energy loss, easier operation, appearance, and noise reduction do not always rank the same in every home.
- A room-by-room problem list: Note which windows stick, feel drafty, collect condensation, or get hit hard by afternoon sun.
- Style references: Photos help narrow down grille patterns, frame sightlines, and operation types faster.
- Budget and financing questions: Early budget clarity keeps product choices grounded in what you want to spend.
How the planning phase prevents expensive mistakes
The expensive mistakes usually happen on paper before the crew ever arrives. A window gets ordered in the wrong configuration. A homeowner expects a full tear-out and the quote is written for inserts. Exterior trim details are assumed instead of discussed. Then the install date arrives and everyone is trying to fix a planning problem with jobsite labor.
Careful planning avoids that. We verify measurements, confirm handing and operation, review visible finish details, and make sure the proposed Mezzo package fits the goals of the project. Same-day estimating can help if it is done carefully and supported by good field notes. Fast is fine. Sloppy is expensive.
A good consultation gives homeowners something valuable before any contract is signed. Clarity.
How to Prepare Your Home for New Windows
The easiest installation days usually start the night before. A little prep gives the crew room to work, protects your belongings, and keeps the job moving at the pace it should.
The three-foot rule and why it matters
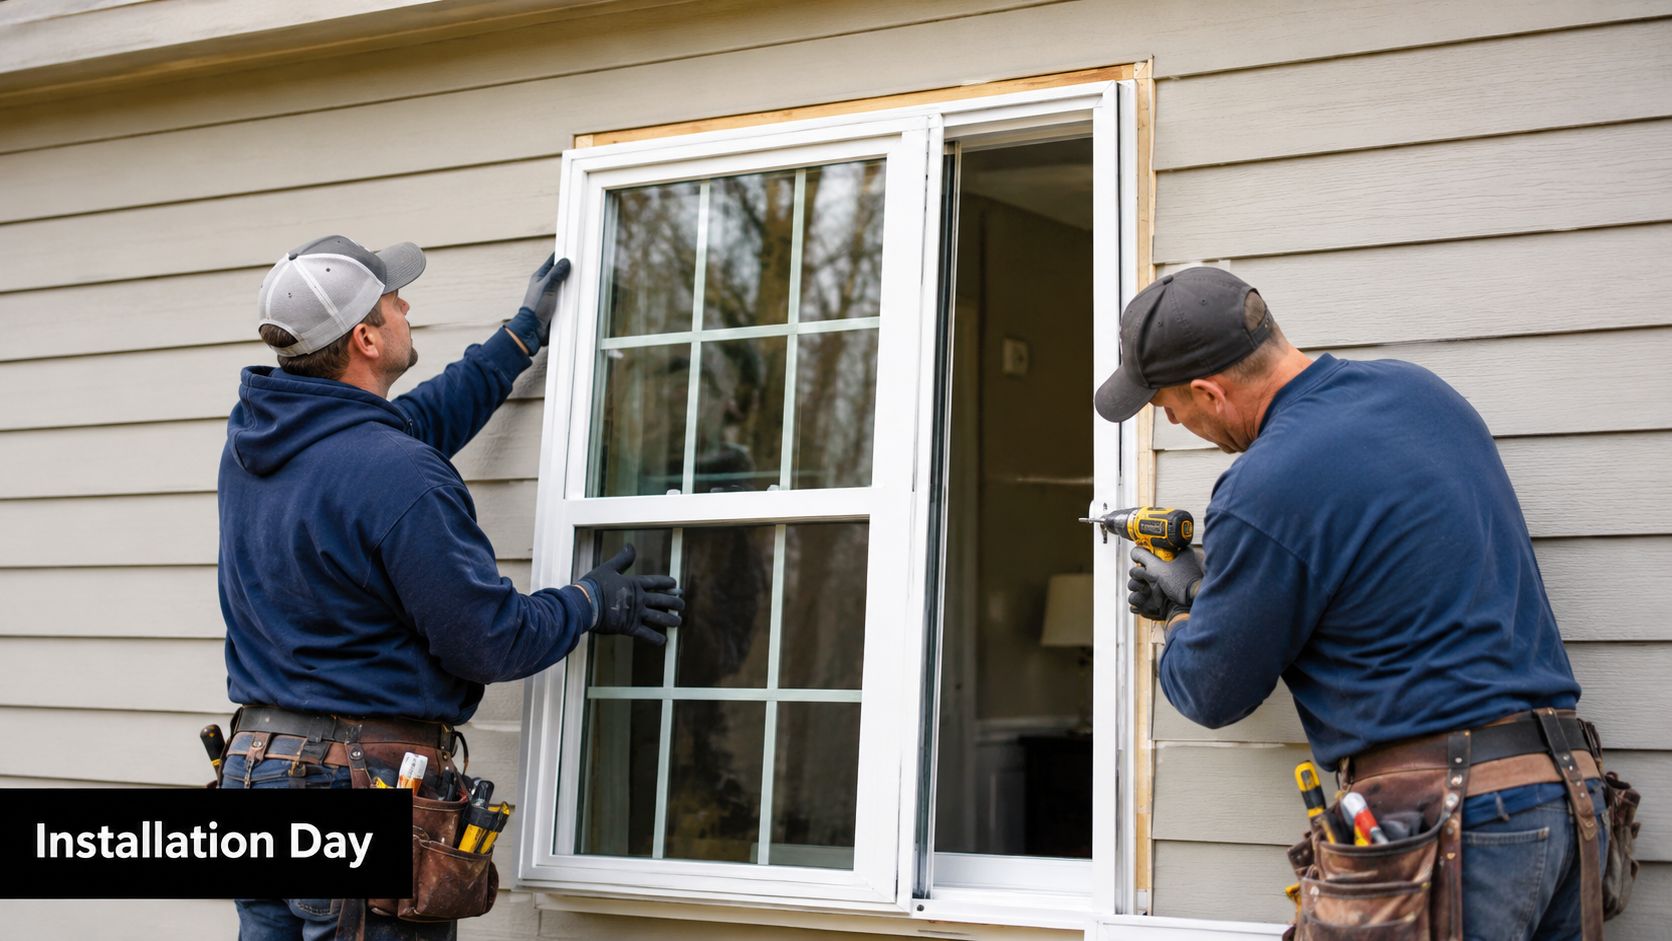
Give each window about three feet of open space inside the room. The U.S. Consumer Product Safety Commission's furniture tip-over guidance also recommends keeping furniture away from windows, which lines up with what installers need on the jobsite.
That clearance gives our crew space to remove the old unit, stage the new Mezzo window, set tools down safely, and protect flooring without bumping into lamps, dressers, or decor. Tight work areas slow everything down. They also raise the chance of a scuffed wall, a broken frame, or a piece of furniture getting in the way at the wrong moment.
A practical prep checklist
The day before installation, handle the basics:
- Move furniture back: Pull beds, couches, side tables, and dressers out of the work area.
- Remove fragile items: Take down pictures, mirrors, and anything breakable on nearby shelves or sills.
- Clear the route to each window: Open up hallways, stairs, entry doors, and exterior gates so the crew can carry units in and debris out safely.
- Secure pets: Open doors, unfamiliar voices, and tool noise can stress even well-behaved animals.
- Make a plan for children: Active work zones need to stay off-limits during the install.
- Disarm window sensors if needed: Alarm contacts are easy to forget until the old sash comes out.
If a window sits behind a heavy sofa, over a soaking tub, or above a kitchen sink crowded with plants and soap dispensers, say so before install day. We deal with those conditions all the time in Treasure Valley homes, but advance notice helps us assign the right crew size, protection materials, and timing.
Season matters, but not as much as many homeowners expect. We replace windows one opening at a time, which limits how long any room is exposed. If you are weighing timing, our guide to the best time of year to replace windows in Boise Idaho explains the trade-offs between summer scheduling, winter comfort, and product lead times.
One last request. Stay reachable.
You do not need to supervise the crew, but you should be available for a quick answer if we uncover concealed trim issues, access constraints, or a detail that needs your approval before we finish that opening. That kind of communication keeps the project clean, efficient, and true to the plan you approved.
What to Expect on Installation Day
Installation day answers the question every homeowner is really asking. Does the crew follow a real system, or do they just work fast and hope the details hold up later?

At C&C Windows & Doors, the sequence stays consistent because consistency protects the house and improves the final result. We start by confirming the day's scope, staging the Mezzo units in a safe area, and protecting floors, traffic paths, and work zones. Outside, the crew also watches for rock beds, irrigation lines, window wells, and tight side-yard access that can slow material handling or increase the risk of damage if ignored.
Once protection is in place, each opening is handled in order. The exact method changes with the condition of the existing window and whether the job calls for an insert or a more involved replacement, but the work itself follows a disciplined pattern. This window installation process overview shows the same fundamentals good installers rely on: remove carefully, clean the opening, set the new unit square, shim it correctly, fasten it to specification, and seal the perimeter for air and water control.
How the old window comes out and the new one goes in
Old windows should come out with control, not force. The crew removes sash, stops, and frame components in a way that limits damage to surrounding finishes. In older Treasure Valley homes, that part can reveal hidden issues like soft sill material, out-of-square openings, or trim that was covering earlier patchwork. Those conditions are manageable, but they need to be addressed before the new unit is locked into place.
After removal, the opening gets cleaned and checked. Loose fasteners, brittle caulk, debris, and uneven contact points have to be cleared so the new window can sit flat. If the surface is dirty or irregular, even a good product can end up performing poorly.
Then the new Mezzo window is dry-fit, adjusted, and supported with composite shims. This is one of the spots where experienced installers slow down on purpose. Rushing here can twist the frame, affect lock alignment, and create the kind of small operational problems homeowners notice every day.
Where quality shows up in the details
A level is only one part of the check. The frame also has to be plumb, square, and properly supported at key load points so the sash moves freely and weatherstripping seals as intended. A window can look fine from across the room and still be under stress in the opening.
Water management matters just as much. One detail we pay close attention to is sill protection. In a proper flashing sequence, the sill area is prepared so water has a directed path out instead of a place to collect. This window flashing walkthrough gives homeowners a useful look at why that step matters even though it disappears once the trim is finished.
The same principle applies on the exterior. Flashing, sealant placement, and weather barrier integration all need to work together. Fast work can still be clean work, but speed should never decide the method. We would rather take extra time at one opening than leave behind the kind of condition that later gets mistaken for product failure, such as the symptoms homeowners see with failed window seals in Boise homes.
Here's what the crew is checking at each window:
| Checkpoint | What the crew is looking for |
|---|---|
| Opening condition | Damage, moisture exposure, and anything that affects fit or support |
| Initial placement | Whether the unit seats evenly before final fastening |
| Shim adjustment | Full support without bowing or twisting the frame |
| Operation test | Smooth sash movement, lock engagement, and even reveal lines |
| Exterior weatherproofing | Continuous sealing, proper drainage, and clean finish lines |
Homeowners also want a realistic sense of timing. Insert replacements usually move faster than full-frame work, but no honest installer should promise the same pace at every house. Second-story access, heavy interior trim protection, concealed damage, and specialty shapes all affect production. A straightforward job can move quickly. An older opening that needs correction should move carefully.
That is the part many homeowners appreciate once they see the crew at work. Good installation has a rhythm, but it is not rushed. Each window is removed, prepared, set, checked, and tested before the crew moves on to the next opening.
Finishing Insulation Sealing and Cleanup
A project moves beyond mere structural installation, evolving into a performance-ready state. Many homeowners think the important part ends once the window is fastened in place. In practice, the finishing phase is what turns a fitted unit into a weather-tight, comfortable part of the house.
Why the finishing stage matters so much
After the window is set and secured, the perimeter gap has to be insulated correctly. The product matters, but so does restraint. Too aggressive an insulation method can distort the frame. That's why crews use low-expansion spray foam around the opening. It seals the gap without putting unnecessary pressure on the unit.
Then come the finishing details that many homeowners never see discussed clearly. Interior trim gets reinstalled or finished. Exterior sealing is completed so the assembly resists air and water intrusion. The crew cleans glass, wipes down frames, and checks the final appearance from both sides.
A disciplined crew also cleans as the job progresses. That matters more than people think. Continuous cleanup prevents small debris from spreading through the house and makes the final walkthrough easier because the homeowner is evaluating finished work, not looking past dust and scraps.
What homeowners should and should not touch
There's one detail that surprises people. Fresh insulation may look done before it's fully cured. Low-expansion spray foam insulation requires up to 24 hours to fully expand and cure, and homeowners should avoid touching it during that period so it reaches full performance and creates a complete vapor barrier, according to Marvin's guidance on what to expect during replacement.
That means if you see an area that looks recently foamed, leave it alone unless the installer tells you it's ready. Don't trim it, press on it, or let kids or pets brush against it.
Fresh foam is one of the easiest parts of a good install to accidentally damage. It doesn't need help. It needs time.
If you've had past issues with condensation between panes, visible draft lines, or recurring moisture around the frame, it's worth understanding how sealing failures develop over time. This guide on window seal failure in Boise gives homeowners a practical look at symptoms and causes.
A proper finish should leave you with three things: a window that operates cleanly, a perimeter that's sealed without looking sloppy, and a work area that doesn't feel like a construction site after the crew leaves.
Your Final Walkthrough and Lifetime Warranty
The final walkthrough is where homeowners shift from trusting the process to verifying the result. This isn't a formality. It's the moment to confirm the windows look right, operate right, and were finished with care.
How to inspect the windows like a pro
Start with operation. Open and close each window. Lock it. Disengage it. If it's a sliding unit, make sure the movement is smooth and not dragging. If it's a casement, make sure the hardware engages cleanly. Homeowners don't need to become installers, but they should absolutely test function while the crew is still present.
Then look at the finish details. Sight down the frame lines. Check trim joints. Look for consistent sealant application and clean glass. Small cosmetic touch-ups are easiest to address on the spot.
One of the most useful concepts to understand during inspection is square versus level. These terms get mixed up all the time. A window must be square, meaning its diagonal measurements are equal, to operate correctly, even if it's slightly off-level, which can be adjusted with shims. Verifying squareness is a key indicator of a quality installation, as explained in this inspection-focused video on square versus level.
That matters because homeowners often look at a bubble level and assume that tells the whole story. It doesn't. A window that's not square can bind, rack, or wear unevenly even if it appears visually close.
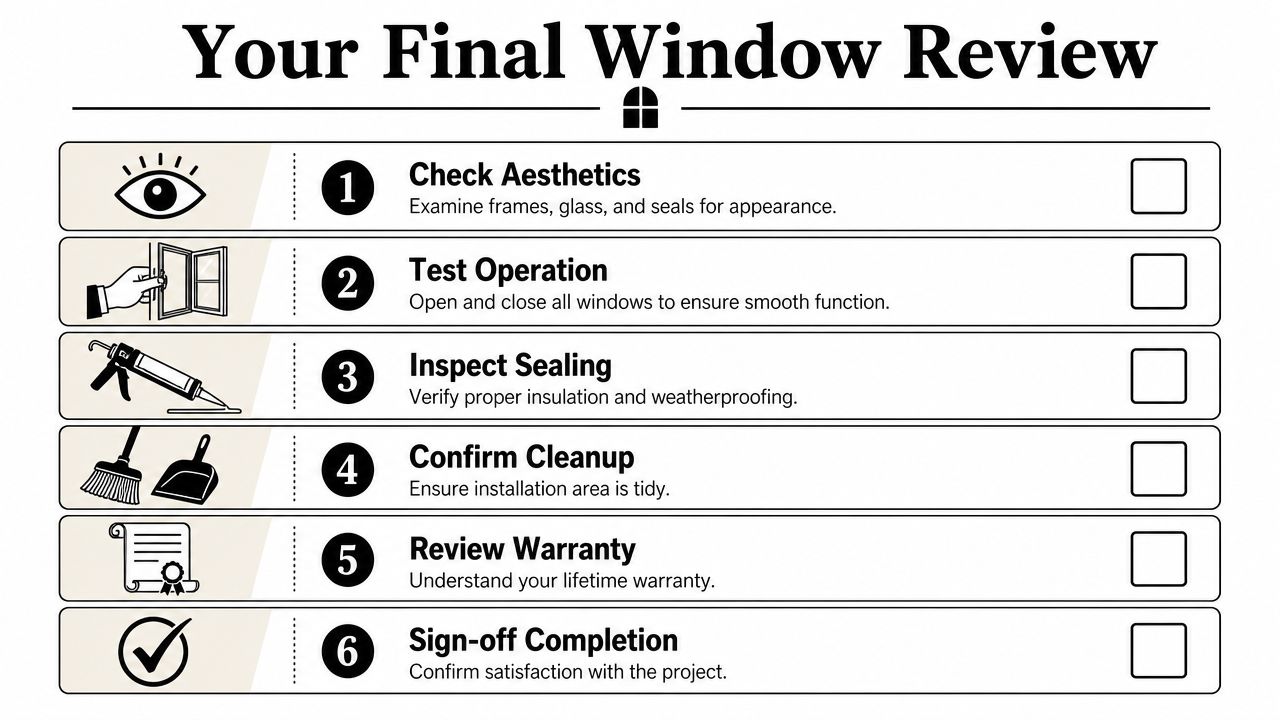
Here's a strong final review checklist:
- Check appearance: Frames, glass, trim, and seal lines should look consistent and intentional.
- Test every function: Don't assume all units behave the same. Operate each one.
- Inspect lock engagement: Locks should align cleanly without forcing.
- Look at sealant and trim: Finish work should look neat, not rushed.
- Ask about care: Know what to clean, what to avoid, and when materials are fully ready.
Why the warranty conversation matters
A strong warranty isn't just paperwork. It tells you whether the company expects its work to last and whether it plans to stand behind it. Product coverage matters, but labor coverage matters too. Homeowners should know exactly who to call if there's an issue later and whether that support applies to both the unit and the installation.
The best walkthroughs also include a simple operating review. The crew should show you how the locks work, how tilt or cleaning features operate if your window has them, and what normal use should feel like. That last part is more important than people expect. Homeowners can't spot a problem later if they were never shown what “correct” feels like on day one.
Good warranty support starts with a good handoff. If the homeowner leaves the walkthrough confused, the process wasn't finished properly.
Frequently Asked Questions About Window Installation
Do I need to be home the whole time
You should be available, even if you're not standing beside the crew all day. Installers may need access to certain rooms, quick approval on trim details, or a conversation about an existing condition they uncovered during removal. It helps when a homeowner can respond quickly.
What if the crew finds hidden damage
It happens. Once an old window comes out, installers sometimes find wood rot, moisture damage, or framing issues that weren't visible before. The right response isn't to cover it up and keep moving. The right response is to stop, show the homeowner, explain the condition clearly, and agree on the fix before the install continues.
That moment often separates careful contractors from careless ones. Covering hidden damage is faster in the moment and much more expensive later.
How disruptive is the job
There will be noise, foot traffic, and short periods where an opening is actively being worked on. A disciplined crew keeps disruption controlled by protecting floors, cleaning continuously, and working one window at a time whenever possible. Most homeowners can stay in the house during the project, but they should expect a worksite environment while installation is underway.
If you work from home, plan around tool noise. If you have pets or small children, keep them away from the work areas. That makes the day easier and safer for everyone.
How long does installation usually take
It depends on the replacement type, access, window count, and house conditions. Insert jobs usually move faster than full-frame work. Older homes can take longer because trim, framing, or prior repairs may complicate removal.
What matters most is not whether the crew is fast. It's whether the crew is controlled. Homeowners should be suspicious of any project pace that seems to skip protection, prep, fit checks, or final testing.
When will I notice a difference
Some changes are immediate. Homeowners often notice smoother operation, less draft around the opening, and a quieter room right away. Other benefits are more gradual. Seasonal comfort becomes more consistent. Rooms near large glass areas feel less harsh during temperature swings. The house may feel more even.
Energy bill changes are harder to pin to a single cause because weather, thermostat settings, shading, and insulation all play a role. The better way to judge the result is by comfort, operation, and the absence of the old problem that pushed you toward replacement in the first place.
What should I ask before signing off
Ask the crew lead to walk every completed opening with you. Confirm operation, locks, cleanup, and any curing or care instructions. Ask what's normal in the first day or two, and what would count as something worth calling about.
A homeowner should never feel rushed through sign-off. If you still have a question, that's the time to ask it.
If you're ready to replace drafty, dated, or hard-to-operate windows in your Treasure Valley home, C & C Windows & Doors can help you through the process with clear planning, custom-fit Mezzo windows, factory-trained installation, and long-term support backed by a lifetime limited warranty on products and labor.